




How to Clean a Coffee Grinder Without Damaging It
A safe grinder clean starts with a distinction: brushing loose grounds from an accessible area is not the same as washing or dismantling the mechanism. Water, tools, removable parts and powered cleaning cycles all depend on the grinder’s design. Use the owner’s manual for your exact model as the authority; if it does not clearly permit a step, do not assume it is safe.
This routine covers common electric blade and burr grinders at a general level. It is not a substitute for model-specific instructions, and it does not cover repairs or disassembly beyond owner maintenance. For broad buying advice, see TheTopZone’s coffee grinder Top Picks.
Before you start: identify the parts
A blade grinder has a blade inside a grinding cup; a burr grinder feeds beans between burrs and typically has a grounds outlet or chute. Hand grinders have their own disassembly and cleaning requirements, so check their instructions too. Before cleaning, locate the hopper, grounds container, chute and motor housing. Work out which pieces are explicitly described as removable or washable in your manual. Do not infer that a part can be washed because it comes off easily.
Set out a clean, dry, soft brush and a dry cloth. A small tray or towel can catch grounds as you work. Avoid sharp picks and abrasive pads: they can damage surfaces or interfere with moving parts. If your manual recommends a particular brush or tool, use that instead. The practical dry-first approach and the warning to follow the model’s directions for removable parts are also described in this general grinder-cleaning guide.
A safe, dry-first cleaning routine
- Switch off, unplug and empty. Disconnect the grinder from power before brushing, hand-cleaning or removing any user-serviceable part. Empty the hopper and grounds container. If beans remain in the mechanism, run the grinder briefly only if its manual directs you to do so; unplug it before continuing.
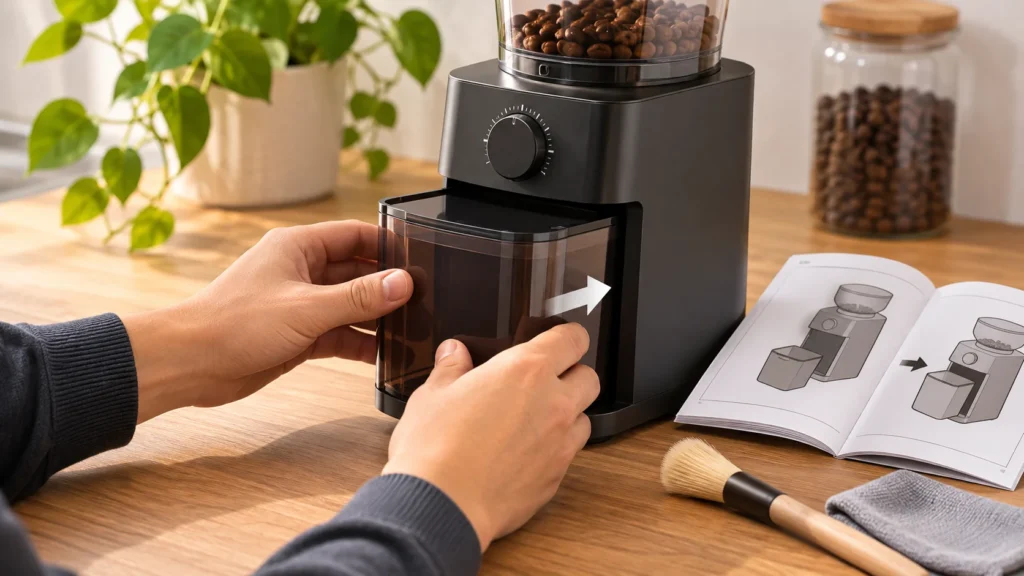
- Remove only approved parts. Take off the hopper, lid or grounds bin only as the manual describes. Remove an upper burr only if the instructions identify it as owner-removable and explain how. Do not force a stuck part or loosen screws to get access. If a piece has a gasket or other small component, keep the parts in order so you can reassemble them correctly.
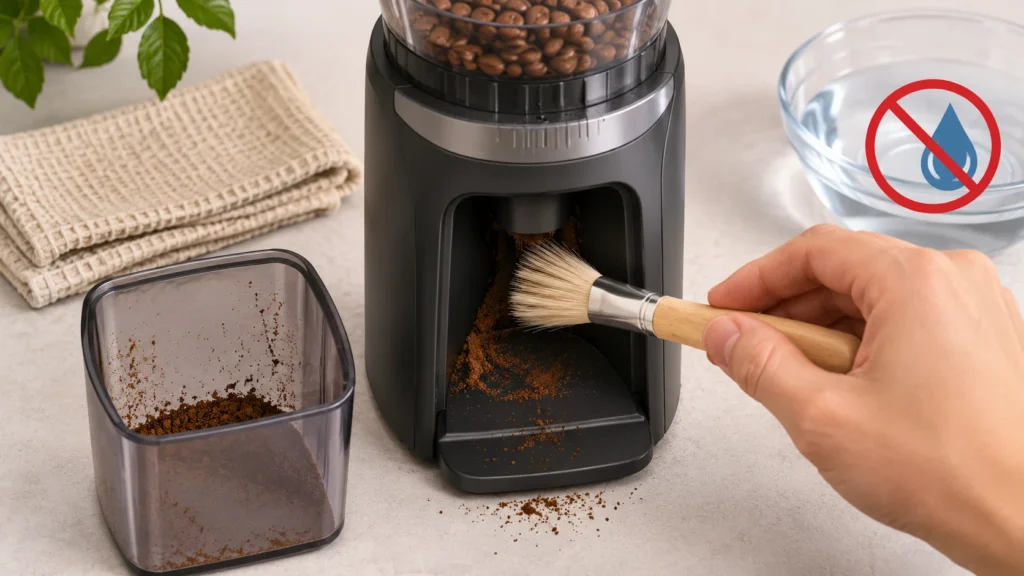
- Brush loose grounds from accessible areas. Gently sweep the chute, grounds container, hopper opening and accessible burr or blade area. Aim to remove loose particles; do not pry between parts or try to make hidden surfaces spotless. Keep the brush away from electrical openings. If the chute is hard to reach, use only a method the manual permits.
- Wash only parts expressly allowed to be washed. If the manual says a removable hopper, lid or grounds container is washable, clean that part as directed and let it dry completely before refitting it. Keep water away from the motor base and from the burr or blade chamber unless the exact instructions explicitly say otherwise. Do not immerse the grinder.
- Reassemble and check before use. Return parts in the correct order, making sure removable pieces are seated and secured as the manual describes. Do not force the burr, hopper or adjustment collar into place. If anything will not fit or lock normally, stop and consult the instructions rather than powering the grinder.
That is a conservative baseline, not a universal disassembly procedure. Grinder models differ in what owners may remove and how parts fit. For instance, the cleaning guidance in the source packet says to remove an upper burr only where the manual permits it; it does not establish that all burr grinders have user-removable burrs. The same source advises keeping water out of the grinding mechanism and drying any permitted washable parts fully before reassembly. See My Coffee Explorer’s grinder-cleaning guidance for its distinction between manual cleaning and separate, product-specific tablet procedures.
Burrs, chute and grounds container
Burrs: Brush only the surfaces you can reach without force. Do not scrape burr teeth, change calibration screws or remove a lower burr unless the manual specifically gives that procedure to the owner. If grounds are packed beyond the accessible area, check the manual for the approved way to clear them rather than pushing a tool into the mechanism.
Chute: Brush loose grounds from the outlet and its entrance, working gently. The chute can retain grounds, but its position and access differ by grinder. Do not pour water or cleaning liquid into it. If buildup remains and the instructions offer no safe access method, contact the manufacturer or an authorized service provider.
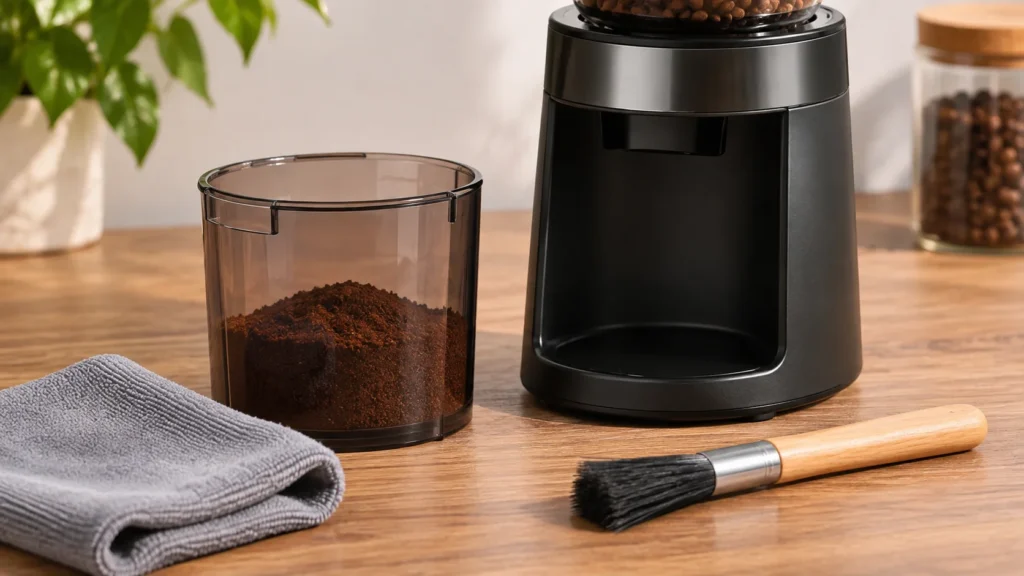
Grounds container: Empty it and brush it out. Wash it only if your manual says it is washable, and dry it fully before returning it to the grinder. A container that can be removed is not automatically dishwasher-safe.
Cleaning products and powered cycles
Do not treat rice, bread, tablets or other household materials as universal grinder cleaners. The packet’s cleaning-product source warns that compatibility, dose, grind setting and purge instructions vary by product and grinder. It also notes that some cleaner instructions exclude particular grinder types. Check both the cleaner’s label and the exact grinder manual before using a product. A product described as food-safe is not, by itself, proof that it is approved for your mechanism.
A tablet-cleaning cycle is different from hand-brushing: it may require the grinder to run, use a specified dose and setting, and be followed by a stated coffee purge. Do not borrow a dose or setting from another grinder or cleaner. If either set of instructions is missing, unclear or contradictory, skip the powered cycle and ask the manufacturer for guidance. Never add water to a powered cleaning cycle unless both sets of instructions explicitly require it.
When to clean—and when to stop
There is no single cleaning interval that fits every grinder and pattern of use. Empty and brush the grounds container as part of regular use, and inspect accessible areas when grounds are visibly retained or residue has accumulated. Follow the manufacturer’s schedule for deeper cleaning, burr removal and any approved cleaning products. The general guide in the source packet likewise recommends adapting attention to visible residue and use rather than treating one calendar schedule as universal.
Cleaning is not a fix for a damaged or malfunctioning grinder. Stop using it if a part is cracked, it will not reassemble securely, or it makes an unfamiliar noise or fails to operate normally after cleaning. Unplug it before checking any owner-serviceable area. Do not keep forcing a jam, opening the motor housing or trying successive cleaning products to solve a fault; use the manual’s troubleshooting advice or seek service.
Illustrative example: choosing a safe clean
Suppose you have a burr grinder with a removable grounds bin, but you cannot find instructions saying that its hopper or upper burr is washable or owner-removable. Empty the bin, unplug the grinder, brush the bin and accessible grounds outlet, and wash only the bin if its instructions allow it. Leave the hopper and burr assembly in place, keep water out of the mechanism, and consult the manual or manufacturer before attempting deeper access. The decision is not based on the grinder’s general category; it follows what its own instructions permit.
When you are unsure, choose the least invasive permitted step: disconnect power, remove loose grounds with a dry brush, and stop before washing or dismantling anything whose care instructions you cannot confirm.