





Smart Light Bulb Won’t Connect: Pairing Fixes
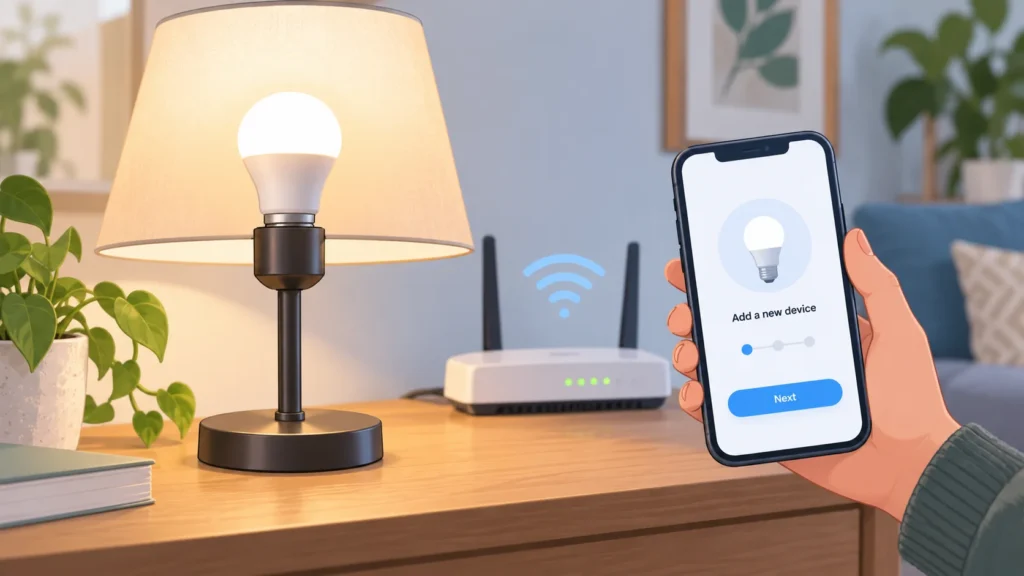
A smart bulb that will not pair is not necessarily defective. The failure may come from the bulb’s connection method, a phone using the wrong Wi-Fi band, missing app permissions, a stale device entry or a hub that is offline. The most efficient approach is to identify the connection type first, then change one variable at a time.
This guide covers direct Wi-Fi bulbs, hub-based bulbs and Matter or Thread setups. Exact reset sequences and compatibility requirements vary by model, so treat the manufacturer’s manual and setup page for your specific bulb as the final authority. For ideas when replacing a bulb is appropriate, see TheTopZone’s smart-light-bulb Top Picks.
1. Identify how the bulb connects
A Wi-Fi bulb communicates directly with your router. A Zigbee or Z-Wave bulb normally needs a compatible hub, while a Thread bulb needs a Thread border router. Matter describes the smart-home standard used for commissioning and control; the underlying connection may be Wi-Fi or Thread. These devices do not all follow the same pairing path, so repeatedly checking 2.4 GHz Wi-Fi will not solve a hub-based bulb’s pairing problem. SmartHomeSensei’s protocol overview explains this distinction and recommends checking the box or manufacturer setup page.
- Direct Wi-Fi: start with the bulb’s companion app and your router settings.
- Zigbee or Z-Wave: confirm the hub is powered, online and compatible before attempting to add the bulb.
- Thread: confirm that a suitable border router is available.
- Matter: use the QR or numeric setup code in a Matter-capable app, following the bulb’s instructions.
2. Check power and pairing mode
First, make sure the bulb is firmly seated and that the fixture has power. A smart bulb also needs uninterrupted power after setup: switching it off at the wall makes it unreachable even if the network is working. If the fixture uses a dimmer, test the bulb in a standard on-off socket where possible; an inconsistent switch or unsuitable fixture can interfere with setup. These are basic checks, but they distinguish a power problem from a networking problem.
Being illuminated is not the same as being discoverable. Most bulbs enter pairing mode after a model-specific on-off sequence and indicate readiness by flashing, pulsing or changing color. The number and timing of cycles differ between products. Do not assume a universal five-cycle reset: use the exact instructions for the model. SmartHomeSensei’s troubleshooting guide notes that an incorrect cycle count is a common reason pairing mode never starts.
If the bulb never shows a pairing indication after carefully following its instructions, try a known-good lamp or socket. If it still will not enter pairing mode, contact the manufacturer before buying replacement networking equipment.
3. Fix the common Wi-Fi pairing problems
Many Wi-Fi bulbs use the 2.4 GHz band rather than 5 GHz. During setup, the phone often needs to be connected to the same 2.4 GHz network so the app can pass the network credentials to the bulb. Routers that combine both bands under one network name may steer the phone to 5 GHz without making that obvious. Bright Smart Home recommends separating the bands temporarily or disabling 5 GHz during setup where the router allows it.
- Check the bulb’s specifications or setup instructions to confirm its supported band.
- Connect the phone to the router’s 2.4 GHz network. If both bands share a name, temporarily create a separate 2.4 GHz name or disable 5 GHz.
- Keep the phone and bulb near the router for initial pairing.
- Reopen the companion app and begin setup while the bulb is visibly in pairing mode.
- Restore any temporarily changed router setting after pairing, unless the bulb’s instructions recommend a permanent configuration.
A 2.4 GHz connection can still fail if the network blocks local device communication. Check that the bulb is not being added to a guest network with client isolation. Also review router security settings: some older or simpler smart devices may not support a WPA3-only configuration. If you change security settings, use the least disruptive compatible option supported by your router and bulb, then restore stronger settings where possible.
4. Improve signal when the bulb connects, then disappears
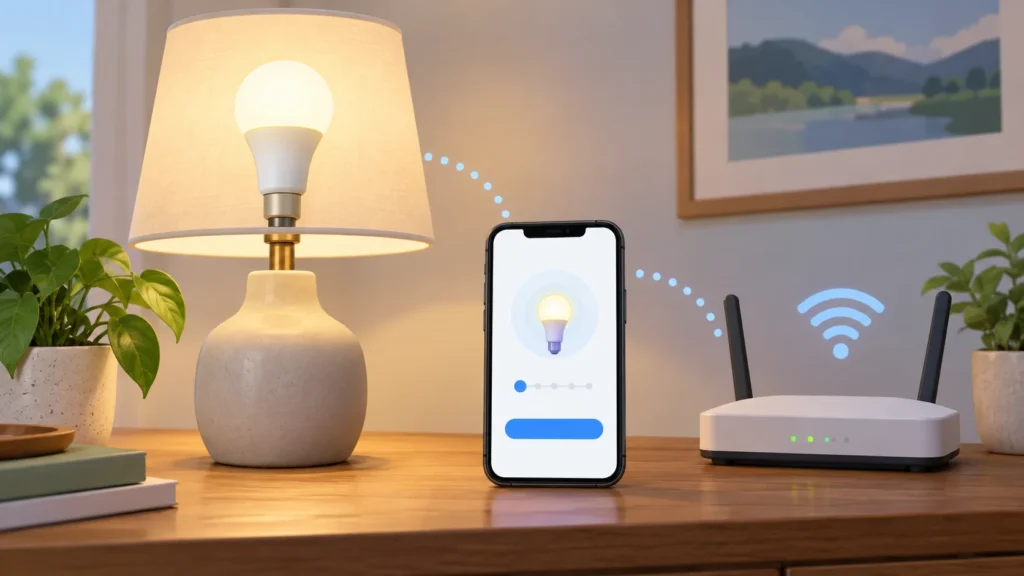
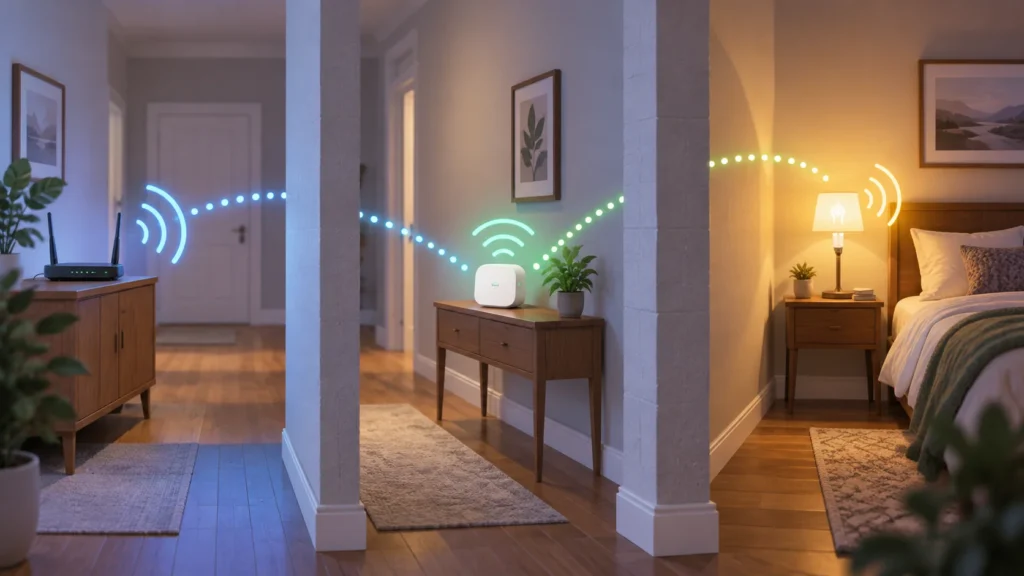
A bulb that pairs beside the router but disconnects in its usual location points more strongly to range or interference than to an incorrect password. Thick walls, floors, metal and nearby electronics can weaken or disrupt wireless communication. Bright Smart Home identifies building materials and household electronics as possible sources of signal problems.
- Pairs only nearby: move the router, add suitable mesh coverage or use a compatible extender rather than replacing a working bulb immediately.
- Disconnects near appliances: observe whether the failure coincides with a microwave, cordless device or other source of interference, then reposition the bulb or network equipment.
- Fails in a crowded network: restart the router and review its connected-device capacity and firmware through the router maker’s instructions.
- Stopped after a router change: reset and re-add the bulb if its saved network name or password changed.
Do not treat a successful pairing beside the router as proof that the final installation location has adequate coverage. Test the bulb where it will actually be used before deciding that the problem is resolved.
5. Refresh the app and phone permissions
The companion app is part of the pairing chain. Update it, force-close it and reopen it after a failed attempt. Check that it has the permissions requested by the operating system, such as Bluetooth or local-network access; the exact names differ between iOS and Android. Missing permissions can prevent nearby discovery even when the bulb and router are functioning.
Turn off a VPN temporarily if the app cannot discover a device on the local network. Avoid changing several phone settings at once, because you want to know which change fixed the problem. If the app shows an old or offline copy of the bulb, remove that entry, reset the bulb according to its instructions and add it again as a new device. An entry in Alexa, Google Home or another ecosystem may also need to be removed or relinked after the bulb works in its manufacturer app.
6. Use the correct path for hubs and Matter
For Zigbee or Z-Wave bulbs, inspect the hub before changing Wi-Fi bands. Confirm its power, network cable or wireless connection, app status and firmware instructions. Pair the bulb through the hub’s app, with the bulb close enough for the hub to discover it. A hub-based bulb will not become a direct Wi-Fi device simply because the router is nearby.
For Thread or Matter products, verify the required border router or Matter controller and use the setup code supplied with the bulb. If scanning fails, the app may offer manual code entry. A bulb that was previously commissioned into another ecosystem may need a manufacturer-approved reset before it can be claimed again. Because controller support differs by model, check the exact compatibility list rather than relying on a general brand statement.
7. Know when to reset or stop troubleshooting
A factory reset is useful when the bulb retains old Wi-Fi credentials, appears as “already added” or becomes stuck halfway through setup. It also erases configuration, so scenes, schedules and ecosystem links may need to be recreated. Use the model’s official reset procedure; similar-looking bulbs can use different timings.
Stop repeating resets when the bulb will not enter pairing mode on a known-good socket, the companion app cannot find it at close range, and the hub or router has been verified. At that point, manufacturer support or a warranty claim is more sensible than purchasing a new router or mesh system. If a replacement is needed, compare the bulb’s protocol, hub requirement, dimmer compatibility and ecosystem support before buying.
A practical diagnosis example
Illustrative example: Assume a direct Wi-Fi bulb flashes correctly beside the router but fails in a bedroom. The input is “pairs near router, fails at installed location”; the output is “investigate coverage and interference before replacing the bulb.” Move the bulb back to the bedroom, keep the phone on the required 2.4 GHz network, and retry. If it remains stable near the router but not in the bedroom, the useful purchase—if any—is coverage equipment compatible with the existing network, not automatically another bulb. This example does not apply to a Zigbee, Z-Wave or Thread bulb whose primary issue is an unavailable hub or border router.
The shortest sensible order of operations
- Confirm the bulb type and required controller.
- Verify power and the exact pairing indication.
- For a Wi-Fi bulb, place the phone on the supported band, usually 2.4 GHz.
- Retry close to the router or hub with app permissions enabled.
- Remove stale app entries and reset only when the model instructions call for it.
- Test the final installation location before declaring the connection reliable.
- Contact the manufacturer if the bulb still will not enter pairing mode or remain connected after these checks.