





How to Load Photos onto a Digital Frame Without Wi-Fi
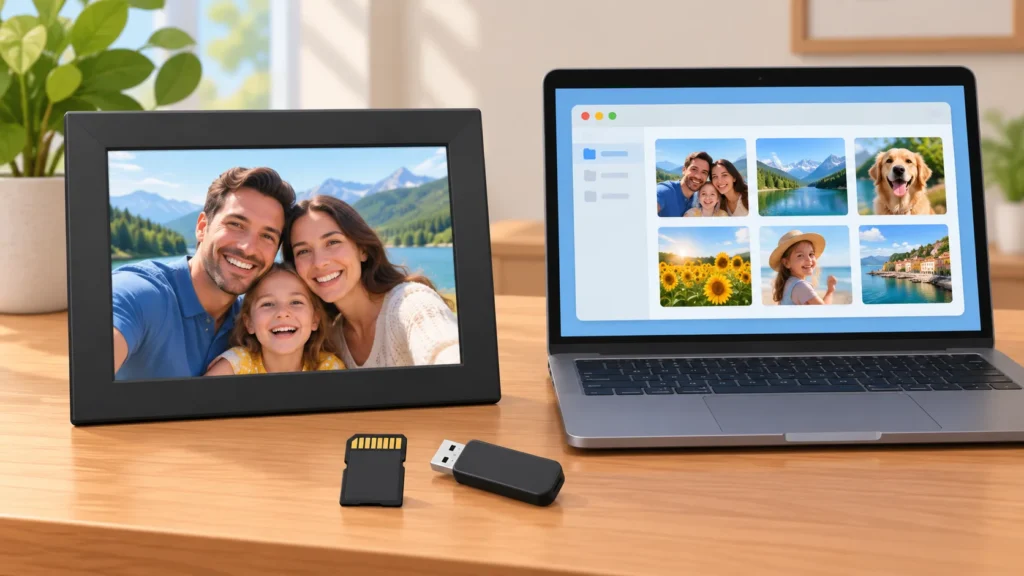
You can load photos onto a digital picture frame without Wi-Fi if the frame supports an offline transfer method, such as a memory card, USB drive or direct computer connection. The exact steps—and even which file types and media work—depend on the frame. Check the manual or the manufacturer’s support page for your exact model before buying a card or copying a large photo collection.
This guide explains how to choose the transfer route, prepare photos, import them and diagnose common recognition problems. If you are still comparing frames, see our digital picture frame Top Picks for product selection; this guide focuses on using a frame offline.
1. Check which offline transfer methods your frame supports
Look at the frame’s ports and card slots, but confirm their purpose in the manual. A slot or port alone does not establish which card formats, drive capacities or file systems the frame accepts. Search the manual for terms such as “SD,” “USB,” “import,” “copy,” “internal storage” and “supported file formats.” If you no longer have the manual, search the manufacturer’s official support site using the full model name or number.
- Memory card: Use this route only if the manual lists the supported card type and any capacity or formatting limits. Do not assume that an SD-shaped slot accepts every SD-card generation.
- USB drive: Check whether the frame can read USB storage and whether it places limits on drive size, format or folder structure.
- Computer connection: Use a cable only if the manufacturer documents a computer-transfer process for your model. A charging port does not necessarily support file transfer.
Some frames can show a slideshow directly from inserted media; others require you to copy files into the frame’s internal storage first. Pix-Star describes both direct playback and copying from removable USB or SD media for its frames, but that is a model-specific example—not a general rule for digital frames. Check the instructions for your own device before deciding whether to leave the card or drive inserted (Pix-Star’s offline-use guide).
2. Prepare the photos and removable media
Start with a small batch of ordinary photo files you can identify, rather than copying your entire library. Confirm that their file types are supported by the frame’s manual. The acceptable formats vary: for example, Nixplay lists JPG and PNG among the photo formats supported by its W10K frame. That specification applies to that model and should not be treated as a compatibility guarantee for another frame (Nixplay W10K product specifications).
Keep the first test simple. Copy a few photos into a clearly named folder, and avoid changing file extensions to make a file appear compatible; renaming does not convert the underlying format. If the manual gives a maximum image size, dimensions or supported formats, follow those instructions. If it does not, test a few files before preparing a much larger transfer.
For a card or USB drive, check the frame’s documented capacity and file-system requirements before formatting anything. Formatting erases the media, so back up its contents first. If you are unsure whether a drive is compatible, use a spare one for testing rather than risking the only copy of important photos. Eject removable media safely from your computer before connecting it to the frame.
Illustrative example: Your frame has a USB port, but its manual lists SD cards only and does not describe USB photo imports. Do not assume that a USB thumb drive will work just because it fits through an adapter. Look up the exact model’s support information or contact the manufacturer. Until USB support is confirmed, use the listed SD-card method if you have compatible media.
3. Import the photos offline
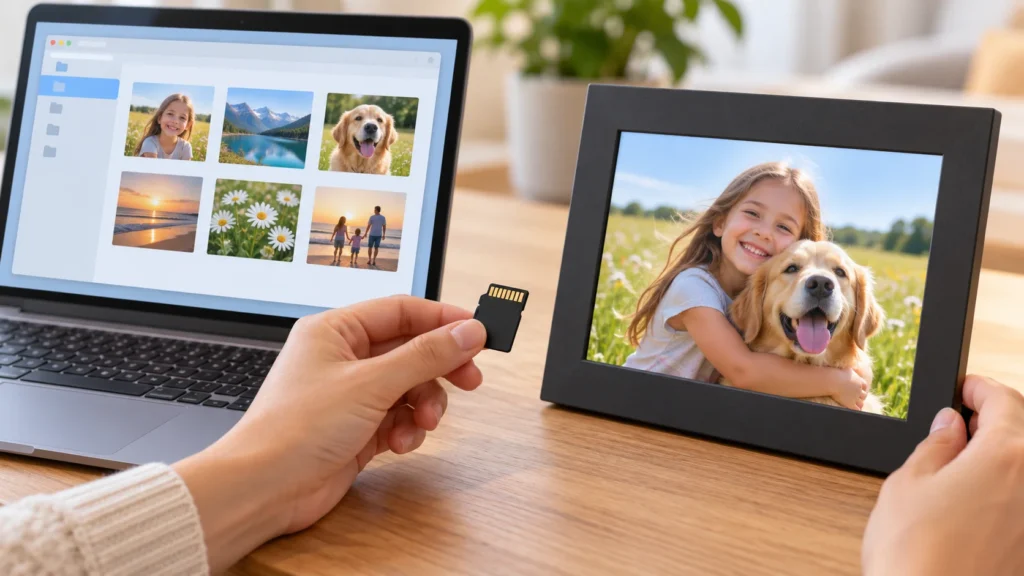
Follow the sequence documented for your frame. A common process is to turn the frame on, insert the prepared card or drive, then use the screen prompts or menu to browse, copy or start playback. Menu names differ, so look for options such as “Import,” “Copy,” “Storage” or “Slideshow,” rather than expecting identical controls across brands.
- Switch the frame on and wait for its home screen or photo menu.
- Insert the compatible card or drive as the manual directs. If the frame displays a prompt, choose the documented import or playback action.
- If copying is required, select the test photos or folder and confirm the copy. Wait for the process to finish before removing the media.
- Open the frame’s photo library or slideshow and confirm that the imported images appear. Check a few different photos, not just the first one.
- Once the test works, repeat the process with the rest of your prepared files, keeping a backup on your computer.
If the frame plays photos directly from the card or drive, leaving that media inserted may be necessary for continued playback. If it copies photos into internal storage, follow the manual’s advice about when it is safe to remove the media and how to manage stored images.
4. Troubleshoot photos or media the frame does not recognize
Work from the simplest possibilities to the more model-specific ones. Change one thing at a time so you can tell what resolved the problem. Do not reformat a card or drive until you have backed up its contents.
- The frame does not detect the card or drive: Recheck the manual for the precise media type, capacity and formatting requirements. Remove and reinsert it as instructed, or test another compatible medium if available.
- The frame detects media but shows no photos: Confirm that the files are in a location the frame scans, such as the root folder or a supported folder structure specified in its manual. Check that the files are actual image files and use a listed format.
- Some photos appear and others do not: Compare a missing file’s format and properties with a photo that displays. Try a small test copy of a known-supported image. Do not assume that renaming an unsupported file changes its format.
- Photos appear on the frame but look incorrectly cropped or oriented: Check the frame’s display, rotation and slideshow settings, and review the image on a computer. Screen shape and frame settings can affect how a photo is presented; consult the device instructions before editing or deleting originals.
- The import stops or the frame becomes unresponsive: Wait for any progress indicator to finish. If it remains stuck, follow the manufacturer’s restart and recovery steps, then try a smaller batch. Avoid unplugging the frame during an active copy unless its instructions say to do so.
If a supported file still fails, check the manufacturer’s troubleshooting page for the exact model and software version. A general guide for another brand may describe a different menu, capacity limit or import behavior, so do not apply its model-specific steps automatically.
When offline transfer is not available
If the manual documents no card, USB or computer-transfer option, there may be no supported way to add photos without connectivity. Check whether the frame can play from internal storage that was loaded earlier, or whether the manufacturer offers a documented alternative. Do not rely on an advertised app or cloud feature as an offline workaround: Nixplay’s W10K specifications, for example, describe Wi-Fi connectivity and app sharing, which is a different transfer route from removable media (Nixplay W10K specifications).
The key is to match the transfer method and files to the exact frame—not to assume that every digital frame accepts the same card, drive or photo format. Confirm compatibility, test a few images, then import the full collection.