




How to Size and Adjust a Jump Rope
A jump rope that is too long can be awkward to turn; one that is too short may catch your feet. Height charts can help you choose a starting length, but your stance, arm position and jumping style also affect the fit. Use this process to get close, test the rope in motion, and avoid cutting cable until you know the setting works.
If you are still choosing a rope, see TheTopZone’s jump-rope Top Picks. This guide focuses on fitting and adjusting the rope you have, not ranking models.
Start with a safe baseline
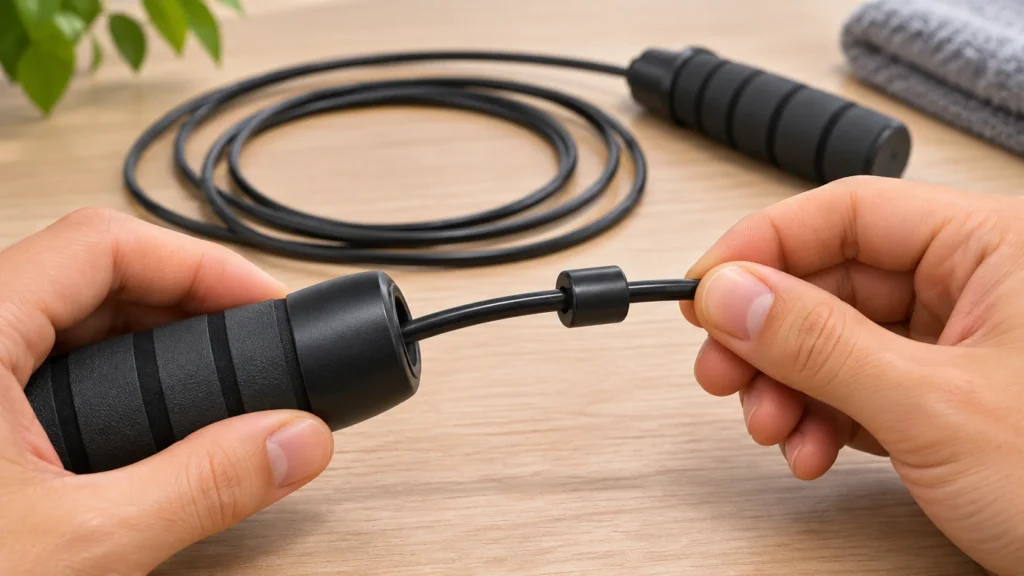
First identify how your rope adjusts. Look for a sliding or locking mechanism, an end cap, a clamp, or another feature described in the manual. Do not assume that every rope can be shortened the same way: some are designed to adjust without cutting, while others require a particular fastener to be removed and refitted. If the maker provides instructions for your exact model, follow those over general advice.
For an initial estimate, the maker of RX Smart Gear’s ropes suggests adding 3 feet to your height as a maximum beginner cable length. Its page also warns that this is a starting point, not necessarily the final length, and that more experienced technique may allow a shorter rope. The same page says its RX Jump Rope 2.0 is not adjustable, so check a model’s specifications before buying on the assumption that you can resize it later. RX Smart Gear’s sizing guidance and product information
Illustrative example: For someone 5 ft 9 in tall, the height-plus-3-feet starting estimate is 8 ft 9 in (5 ft 9 in + 3 ft = 8 ft 9 in). That is a starting estimate from RX Smart Gear—not a guarantee of ideal fit, and not a reason to cut a rope to that length without checking its instructions and testing it.
Check the rope before adjusting
Stand on a clear, level surface with enough room for the rope to pass overhead and around your feet. Untangle the rope and check that it is attached securely at both handles. If it has a length adjuster, note how it locks and whether any excess cable must be secured or tucked away. Keep loose cable and tools away from the area where you will jump.
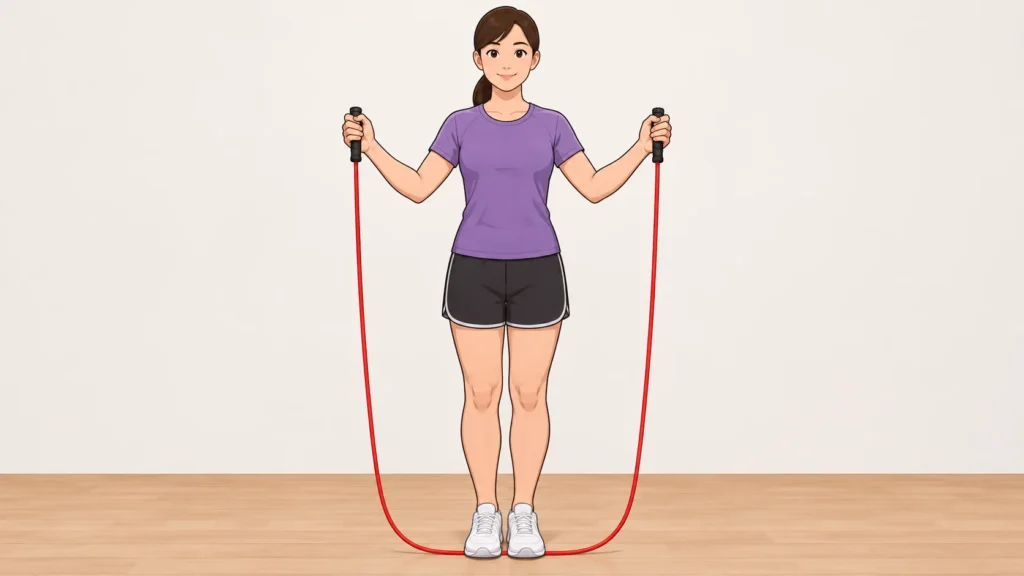
You can use a standing check as a rough comparison: step on the middle of the cable with one foot, bring the handles up evenly, and observe where their ends reach. Treat this only as a preliminary check. A static measurement does not show how the rope travels when you turn it, and different rope designs and handle lengths affect what you see. RX Smart Gear describes a similar under-foot check but presents it as a spot check rather than a substitute for its sizing guidance. RX Smart Gear’s sizing FAQ
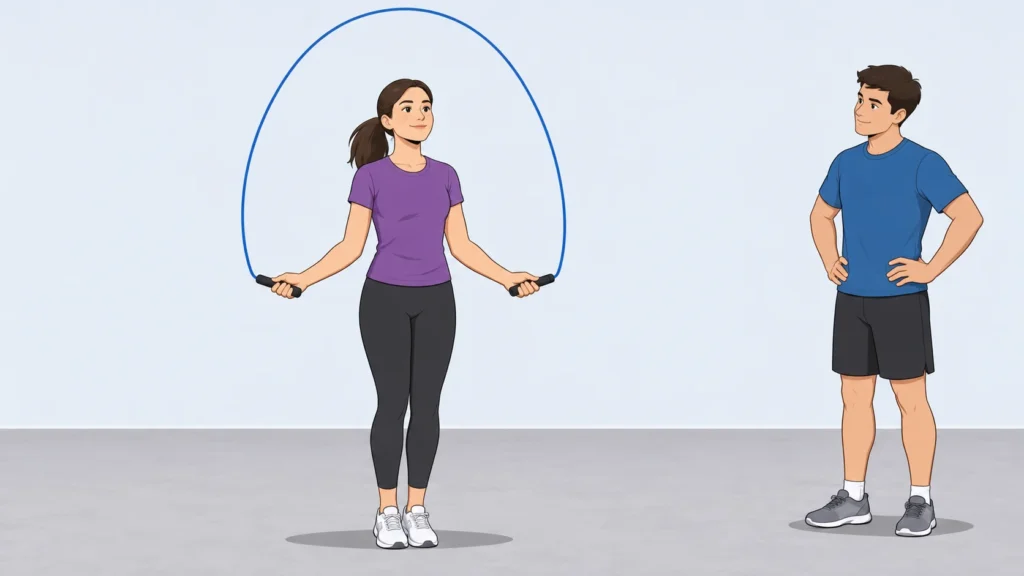
For a more useful fit check, turn the rope at an easy pace while a partner watches, or use a mirror or video if you can do so safely. Keep your elbows relaxed and your hands near your sides rather than reaching them far out. Notice whether the rope clears your head and passes under your feet without needing exaggerated arm movements. A partner or recording can help you see the rope’s path; it does not replace your model’s adjustment instructions.
Adjust in small steps and retest
If an adjustable rope feels too long, shorten it a little using its intended mechanism, secure the setting as directed, and repeat the same easy turns. Avoid making a large change based only on a miss or two. A trip can have more than one cause, and an unfamiliar rope may take a little practice. If the rope repeatedly drags or catches despite a consistent turning motion, try a small adjustment and reassess. If a shorter setting makes the rope clip your feet or forces you to change your posture, return to the previous setting.
There is no single overhead-clearance target that suits every jumper and style. As one maker’s starting guidance, Elite Jumps suggests different clearance ranges for general fitness, speed or double-under practice, and freestyle. It also recommends observing the rope while jumping and says that a longer starting rope can be adjusted down. Treat those figures as that maker’s guidance, not universal standards or a required target. Choose a setting that works with your control and intended use. Elite Jumps’ rope-sizing and clearance guide
If you are a beginner, a little extra clearance may feel easier to manage than a very short setting, but do not force yourself to use a length that repeatedly catches. If you are practicing faster turns, a shorter setting may be worth testing only if you can still control the rope. Change one thing at a time—length, stance, or hand position—so you can tell what helped.
Before you cut a cut-to-fit rope
Cutting is a one-way change, so treat it as the final step, not the first adjustment. Confirm that the rope is actually designed to be cut and find its instructions for the exact model. Check whether the end is secured by a clamp, cap, knot, or another fitting, and whether the manufacturer specifies how much cable to leave for that fitting. Do not copy a cutting method from a different rope: the parts and attachment method may differ.
Before cutting, mark the proposed new length while the rope is set up as directed. Measure twice, then check that the mark leaves enough cable to reattach and secure the end as instructed. If you are unsure where to cut or how to refit the hardware, stop and ask the manufacturer or seller rather than guessing. Do not cut a non-adjustable rope unless its maker explicitly provides a resizing method.
After trimming and refitting, tug gently on the connection to check that it is secure, then test the rope slowly in an open space before using it at speed. If a fitting will not lock as intended, or the cable appears damaged, do not jump with it until it has been corrected. For an adjustable rope, likewise confirm that its lock holds before each session; a length setting that can slide during use is not ready for jumping.
Know when this process does not apply
Model-specific instructions take priority, especially for ropes with unusual handles, fasteners or cable materials. A height-based estimate cannot establish the right setting for every person, and advice for one product should not be treated as a compatibility guarantee for another. If you cannot identify the adjustment method, the rope is damaged, or the maker says it is not adjustable, do not improvise with pliers, knots or cutting.
The practical rule is simple: estimate, observe the rope in motion, adjust in small steps, and test the lock. Only trim after confirming both the fit and the model’s approved cutting procedure.
A final fit and security check
Before your next session, verify the rope is untangled, the two sides are even, and any length lock or end fitting is secure. Turn it slowly in a clear space first. If the rope catches, the setting slips, or a connection looks loose, stop and correct the setup before jumping faster.