





How to Fit and Break In Ice Skates Without Pressure Points
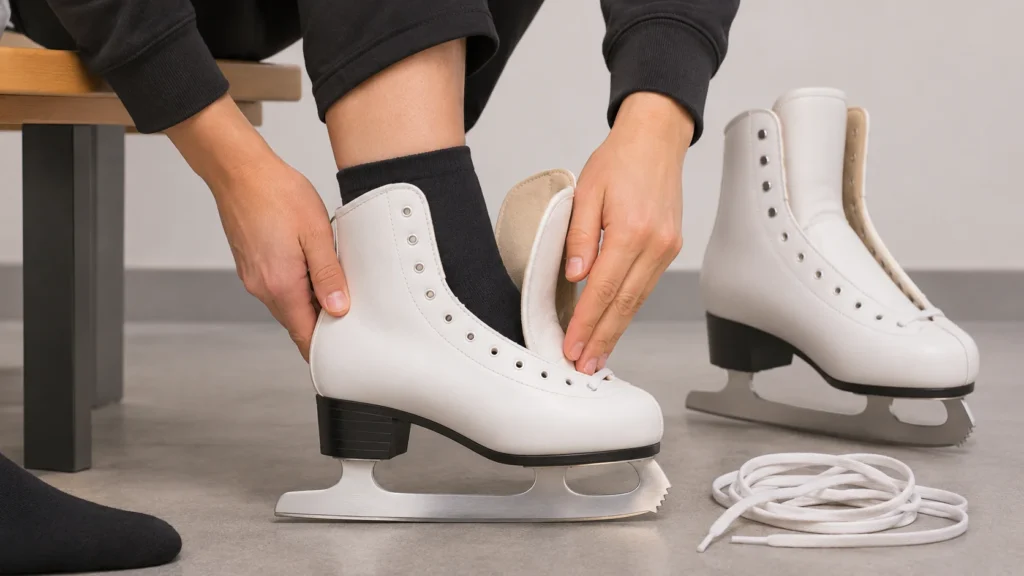
A skate that feels secure should not rely on painful tightness. At home, you can check whether your toes, heel and foot feel comfortably supported, then use a short, cautious first skate to see how the fit behaves in motion. These checks can help you spot a problem; they cannot replace a professional fitting, especially for performance boots or persistent pain.
Fit depends on the boot model, its shape and your foot. Do not assume that your usual shoe size is the right skate size or that every brand fits the same. For broad product options, see our women’s ice skates Top Picks; use the fit process below to assess a pair you are considering or already own.
Start with the right fitting conditions
Try skates on indoors, when your feet are at a comfortable temperature. Wear the socks you expect to skate in: a thin, smooth pair is a useful starting point because excess fabric can bunch and create pressure. Avoid changing several things at once. If you try a different sock, footbed or lacing pattern, note that change so you can tell what affected the feel.
Loosen the laces enough to slide your foot in without forcing it. Seat your heel back in the boot, then lace it gradually. The goal is a close, even hold—not maximum lace tension. A boot that only feels secure when you pull painfully hard may be the wrong shape or size, or may need assessment by a skate fitter.
Brand sizing and boot construction vary. Jackson, for example, describes particular features of its own skate lines, including different lasts and a heat-moldable system on certain boots. Its instructions say heat molding should be done by an authorized retailer, not attempted at home; do not assume another brand or model uses the same system. Check the maker’s guidance for the exact boot. Jackson’s skate and fit information
Check toes, heel and foot pressure
With the skates laced, sit or stand in a stable place and assess each foot separately. Look for a secure fit without numbness, sharp pain, burning, or a spot that feels pinched. Comfort is individual: a close-fitting figure skate may feel unfamiliar, but pressure that becomes painful or worsens is not a break-in target.
- Toe room: Stand upright with your weight evenly balanced. Your toes should not be forcibly curled or crushed against the front. A small change in toe contact as you bend your knees can happen; persistent hard contact or pain deserves a size or fit check.
- Heel hold: Bend your knees as you would in a skating stance. Notice whether your heel stays seated or lifts and slides substantially inside the boot. Do not try to solve major heel movement just by overtightening the laces.
- Pressure across the foot: Check the instep, sides of the forefoot, arch and ankle bones. Distinguish a close, even wrap from a distinct hotspot, sharp edge of pressure, or tingling. Loosen and relace once to rule out a lace that is pulling unevenly.
- Left-right differences: Compare the two feet, but do not expect them to feel identical. If one boot causes a concentrated problem, note its location and whether it changes when you adjust the lacing.
These are screening checks, not a formula for a universally correct amount of toe space or tightness. The packet’s sources do not establish a single measurement that applies to every skate model and foot. For competitive boots, Riedell recommends fitting through an authorized dealer because proper fit is important to boot performance. Riedell’s dealer and fitting guidance
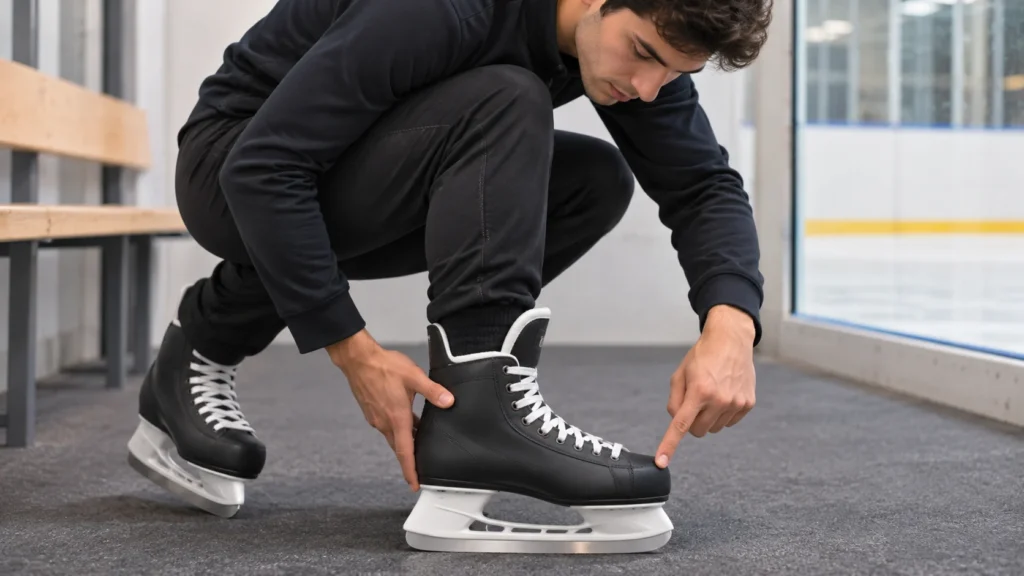
Lace for support without pinching
Work from the lower part of the boot upward, taking up slack in stages rather than yanking one section tight. Aim for an even feel over the foot. If the ankle area feels uncomfortable, try easing the tension there while keeping the lower boot secure; do not use the laces to force a painful foot into place. Lace patterns and boot designs differ, so treat this as a fit check rather than a rule that every skate should be tightened identically.
Once tied, check that the knot and loose lace ends are secured and cannot trail near the ice. A general lacing guide describes tightening progressively and tying a secure knot, but its instructions are not a substitute for the skate maker’s guidance or a fitter’s advice. wikiHow’s ice-skate lacing guide
If a particular lace crossing presses on a sensitive spot, make a small adjustment and reassess. Do not keep tightening elsewhere to compensate for a boot that is too roomy in the heel, and do not cut or alter parts of the boot as a home fix.
Use a cautious first skate
After the indoor check, try the skates in a controlled setting and keep the first outing modest. Before stepping onto the ice, recheck your laces and confirm there is no new pressure from a bunched sock or folded tongue. On the ice, pay attention to whether the heel stays in place and whether a hotspot appears, increases or changes as you bend and move.
Stop and come off the ice if you develop sharp or worsening pain, numbness, tingling, or a feeling that your foot is being squeezed. Loosen the skate and inspect the sock and tongue. If the discomfort remains, do not continue skating in the hope that the boot will simply break in. Skin irritation or pain can have different causes; this guide cannot diagnose them.
Illustrative example: A skater finds that both toes feel comfortable while standing, but one heel lifts noticeably during knee bends and the boot then rubs at the ankle. They should first check that the heel is seated and the lacing is even. If the movement and rubbing persist, the practical next step is a skate-fitter assessment—not tighter laces or a longer break-in session.
When to seek a skate fitter
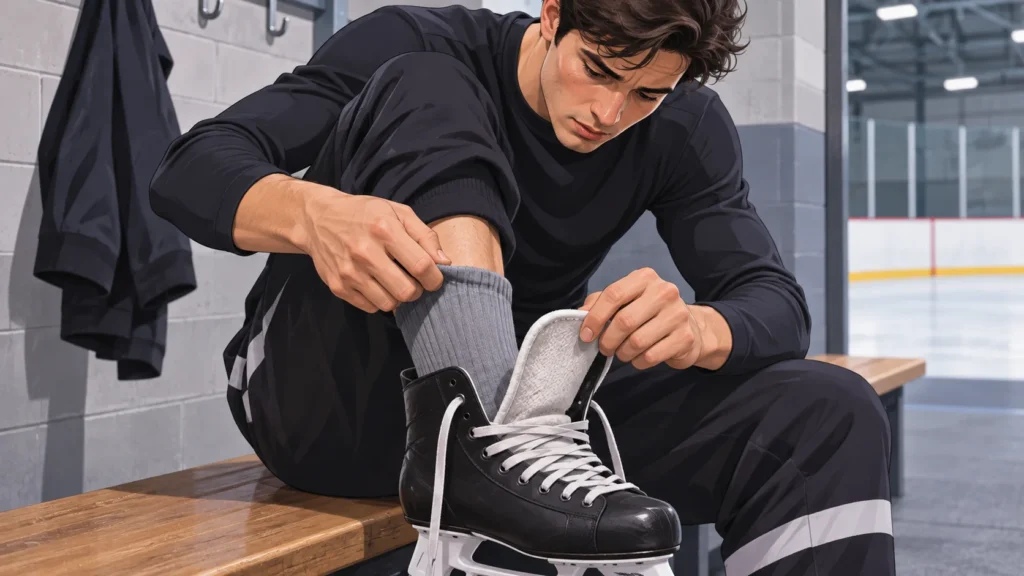
Ask a qualified skate fitter to assess the boots if you cannot get a secure heel without painful pressure, a hotspot repeatedly returns in the same place, or the boot seems mismatched to your foot shape. A fitter can assess whether the issue relates to sizing, boot shape, lacing or a possible adjustment. Ask what can safely be adjusted on your exact model before agreeing to work.
Do not heat-mold a boot at home unless the manufacturer explicitly says the specific model is designed for that process and provides instructions. Jackson’s published guidance for its heat-moldable system specifically directs customers to an authorized retailer; that instruction applies to the system it describes, not automatically to other boots. See Jackson’s model-specific heat-molding guidance
If buying online, check the seller’s current return and exchange terms before wearing the skates outdoors or on the ice. Policies vary, and this guide cannot promise that a used or heat-molded boot can be returned. When in doubt, contact the seller or manufacturer with the exact model name and describe where and when the pressure occurs.
A simple fit decision
Keep the pair only if you can lace it securely without pain, your toes are not crushed, your heel is reasonably stable, and no concentrated pressure develops during a cautious trial. If one check fails, adjust the lacing or sock once and reassess. If the problem remains, pause and get model-specific advice rather than trying to force a break-in. A comfortable fit is personal, and no single at-home check can confirm that every boot is suitable for every skater.