





How to Empty and Clean a Floor Sweeper Without Spreading Debris
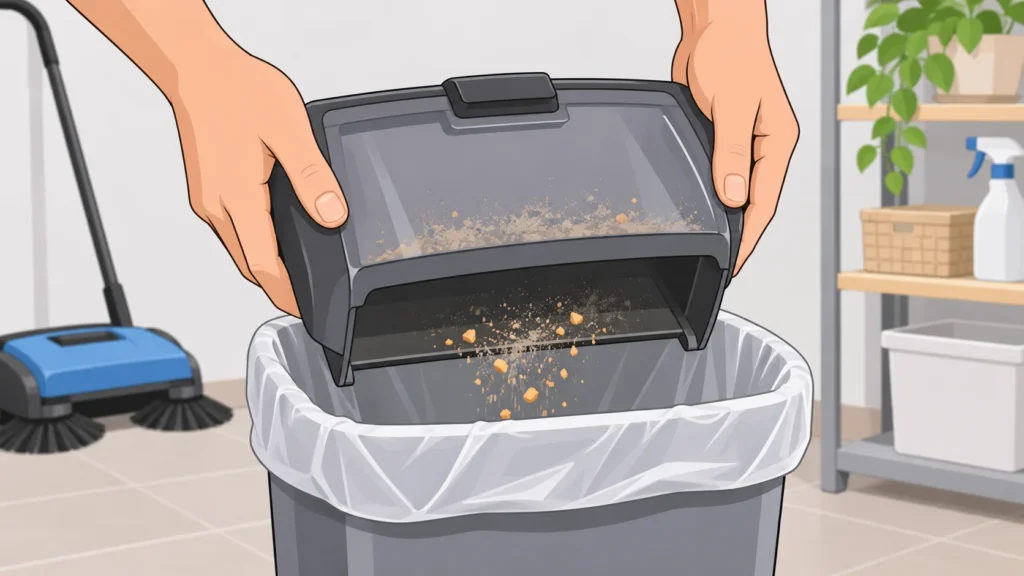
Emptying a floor sweeper is easier to manage when you prepare the disposal area first and keep the debris container close to the waste receptacle. The details vary by design: a small carpet sweeper, an outdoor walk-behind sweeper and a powered floor machine may have different containers, brushes and cleaning restrictions. Use this as a cautious routine, not as a substitute for your model’s manual. If its instructions differ from the general steps here, follow the instructions for your sweeper.
Start with your model and a clear work area
Identify the sweeper’s make and model and find its operating instructions before cleaning. Check how the hopper or debris container releases, whether brushes or covers are removable, and whether any part may be rinsed. Do not assume a part is washable because it detaches. Factory Cleaning Equipment provides manuals for particular commercial sweepers and advises users to contact the company if a machine is not listed; for a household sweeper, look for instructions from its own manufacturer (Factory Cleaning Equipment’s manual directory).
Choose a spot near the trash or outdoor waste container, away from open windows, food-preparation surfaces and strong drafts. If possible, work over a trash can or put a waste bag beneath the container’s opening. Set out a dry cloth and the cleaning tool supplied with the sweeper, if it has one. Avoid shaking or banging the container: doing so may scatter collected dust and crumbs.
For a powered machine, switch it off and follow its instructions for disconnecting power or removing the battery before accessing brushes or internal areas. Never reach into a moving brush assembly. If the manual does not explain how to expose a part safely, leave it in place and consult the manufacturer.
Empty the container with the opening contained
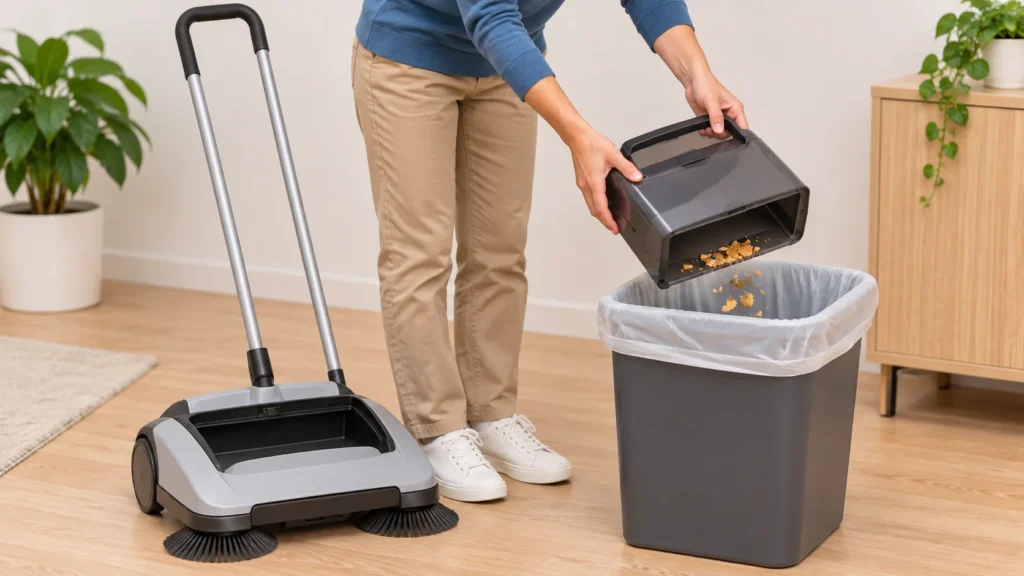
- Position the receptacle. Hold the debris container low over the trash can, with its opening directed into the bag or bin. If it is still attached, move the whole sweeper close to the receptacle before releasing it.
- Release it as instructed. Use the designed latch, lever or release button. Avoid pulling on a hinge or forcing a stuck part; the manual may show a particular release direction.
- Tip debris out slowly. Keep the opening inside the receptacle’s rim as you empty the contents. For material caught at an edge, use a dry cloth or a tool the manufacturer permits rather than your fingers.
- Check for residue. Look at the container’s corners and opening. If debris remains, remove it gently while the container is still over the receptacle. Do not blow into it or use compressed air, which can spread dust.
- Refit and check the closure. Reattach the container only as directed. Confirm it sits securely before using the sweeper again; do not force a latch that will not align.
Container-release mechanisms are model-specific. For example, a description of the outdoor Kärcher S 6 Twin says it has a removable waste container; that detail is not an instruction for other sweepers (Kärcher S 6 Twin description). If your container does not release as expected, stop and check the correct manual rather than improvising.
Clean accessible brushes and surfaces
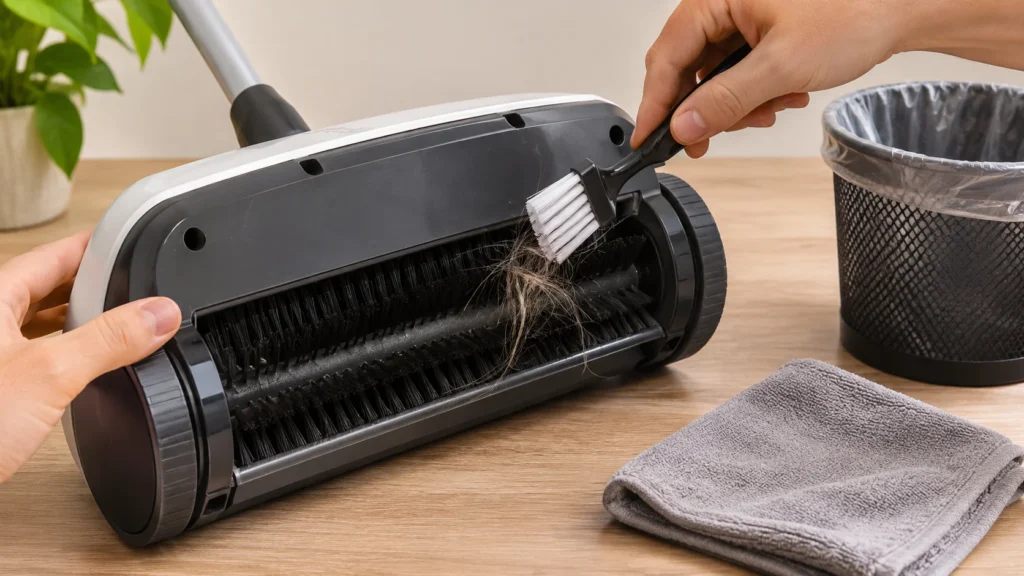
Once the container is empty, inspect the visible brush area for wrapped hair, threads or larger debris. Follow the manual’s method for removing material. If the manufacturer supplies a cleaning brush, use it as directed; otherwise, use a dry cloth or a suitable hand tool only on accessible areas. Keep fingers clear of sharp edges and moving parts. Do not remove a brush assembly unless the instructions explain how.
Wipe the container and the outside of the sweeper with a dry or lightly damp cloth only if the manufacturer allows it. Keep water away from motors, electrical connections, switches and bearings. Do not immerse the sweeper or rinse a removable component just because it appears simple or sturdy. Floor Scrubber USA advises users of the powered floor-cleaning machines covered by its support guidance to check machine instructions and warns that water exposure can damage electrical components (Floor Scrubber USA’s support center). That is not a cleaning specification for every household sweeper; follow your own model’s manual.
Let any permitted damp-cleaned part dry fully before reassembly or storage. Put removed debris directly into the waste receptacle, and wipe up loose material rather than sweeping it back toward the machine. If debris is trapped behind a cover and the manual does not describe access, do not pry the cover open. A small amount of residue that cannot be reached safely is a reason to consult the manufacturer, not to dismantle the sweeper.
Illustrative example: a manual carpet sweeper
Suppose you have a non-electric carpet sweeper with a removable debris container and a cleaning brush supplied with it. A product listing describes those features for one manual sweeper, but does not establish that every container releases the same way or that any part can be washed (example manual sweeper listing). Place the receptacle beneath the container, release it according to that model’s instructions, and tip crumbs into the receptacle. Use the supplied brush on accessible areas only if its instructions permit. If you cannot confirm that rinsing is allowed, clean accessible surfaces dry and leave the container unwashed. This example illustrates a cautious choice, not a universal cleaning method.
Check before storing or using it again
- Debris removed: Check the container opening and visible brush area for material that could fall out when you next move the sweeper.
- Parts secure: Confirm that any removed container or cover is fitted correctly, without forcing the latch.
- Parts dry: If you used a damp cloth or the manual permits washing a part, wait until it is dry before reassembly or storage.
- Problem persists: If a brush is jammed, a container will not latch, or debris is lodged somewhere inaccessible, stop and consult the manual or manufacturer rather than dismantling the machine.
Emptying after use can help limit debris left inside between cleaning sessions, but it does not replace model-specific maintenance. The right sweeper and container style also depend on the surface and cleanup task. For help comparing options, see TheTopZone’s floor sweeper Top Picks.