





How to Clean a Dish Drainer and Prevent Mold, Rust, and Limescale
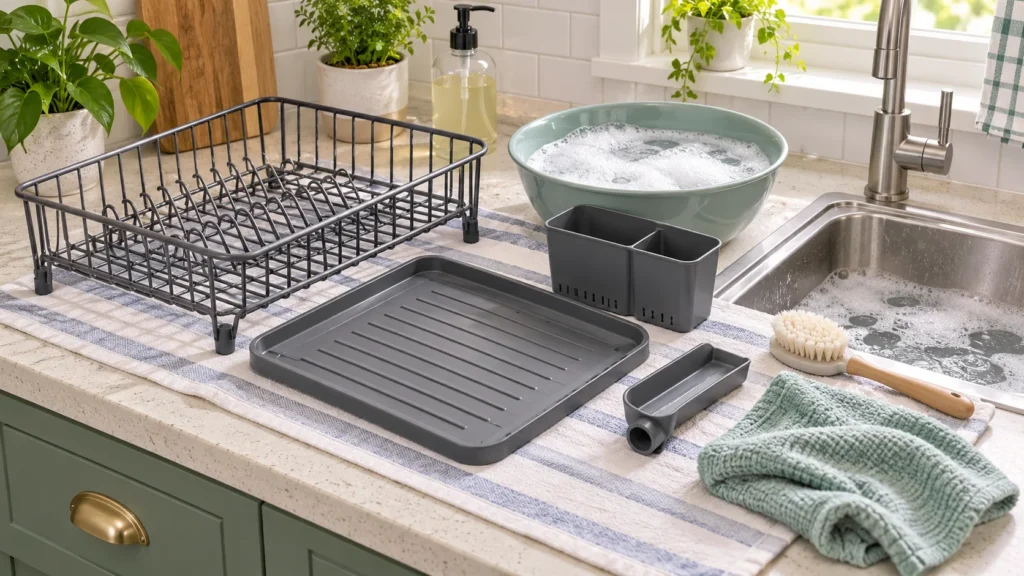
A dish drainer sits in a damp, food-splashed area, so it can collect cloudy residue, mineral scale, trapped crumbs and dark-looking buildup. Cleaning it well is less about using the strongest chemical and more about removing standing water, reaching hidden joints and following the care instructions for the specific material.
There is no universal method: a plastic tray, painted or coated steel rack and stainless-steel rack may have different restrictions. Before using vinegar, bleach, an abrasive pad or a dishwasher, check the exact model’s manual or product-support page. If you are comparing replacement designs, see TheTopZone’s dish drainer comparison for a broader buying decision.
Identify the material and removable parts
Start by taking the drainer apart as far as the manufacturer allows. Remove the cutlery holder, drain plug, spout, tray or detachable prongs, and note where each part fits. This exposes seams where water and food particles can remain.
Look for the care label or the model’s official instructions. For example, Joseph Joseph lists its Extend drainer as “hand wash only,” while its Extend Slim Steel model says to wash and dry by hand and avoid abrasive cloths or strong chemical cleaners on stainless-steel parts. Those instructions apply to the named products, not automatically to every drainer. See the Extend care information and the Extend Slim Steel care information.
- Plastic: Use warm water and a mild dish detergent unless the model’s instructions say otherwise. Avoid assuming it is dishwasher-safe; heat can deform some plastic parts.
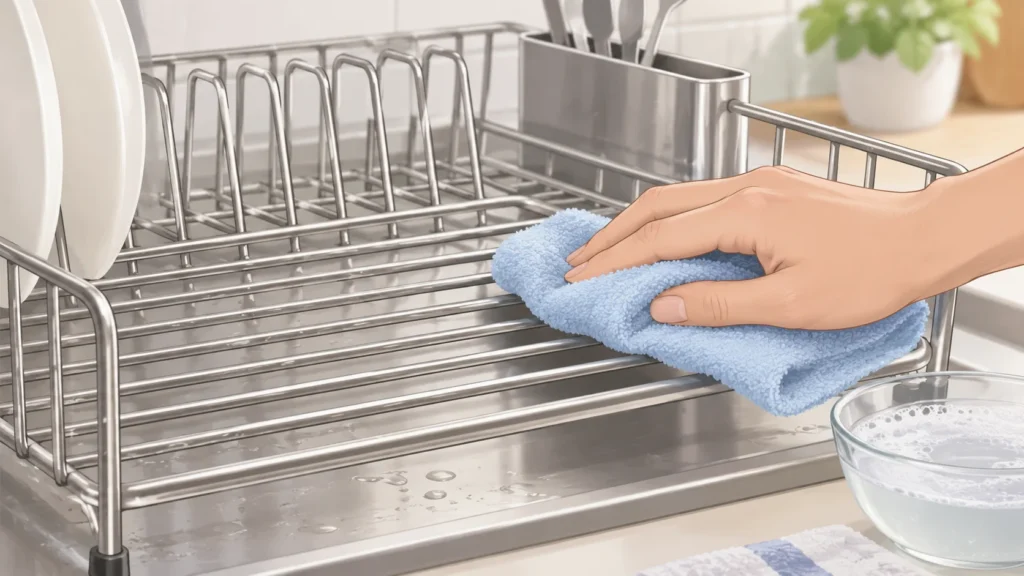
- Stainless steel: Use a soft cloth, warm water and mild detergent, then rinse and dry. The simplehuman steel-frame support page specifically warns against steel wool, bleach, salts and acids on its stainless-steel parts.
- Coated or painted metal: Treat the surface gently. Abrasives and harsh cleaners can damage a coating, after which corrosion may become more likely. Follow the exact brand’s instructions rather than assuming bare-metal advice applies.
Routine cleaning to remove residue
For ordinary buildup, empty the drainer and rinse away loose food particles. Wash each accessible surface with warm water and a small amount of mild dish detergent. Use a soft cloth or non-abrasive sponge around rack intersections, underneath the tray and inside the cutlery holder. A soft brush can help with narrow slots, but do not force it into a joint or scrape a finish.
Rinse thoroughly so detergent and loosened residue do not dry back onto the surface. Then wipe or air-dry every component before reassembly. Drying is particularly important around feet, seams, drain openings and the underside of a tray, where water may remain after the visible surface looks dry.
Use only a cleaning method approved for the part you are washing. Keep treatments for a plastic tray away from adjacent metal or coated surfaces unless the manufacturer allows them too.
A practical cleaning sequence
- Empty: Move dishes elsewhere and remove crumbs, pooled water and loose scale.
- Disassemble: Separate only the components the manual identifies as removable.
- Wash: Clean with warm water, mild detergent and a soft cloth or suitable soft brush.
- Rinse: Flush away loosened soil and detergent, paying attention to slots and drainage channels.
- Dry: Wipe all parts and leave them separated until no trapped water remains.
- Reassemble: Put the pieces back only after checking that openings and drainage paths are clear.
Reducing damp buildup and odors
Regular cleaning cannot guarantee that mold will never appear, but reducing moisture and residue removes two conditions that can support unwanted growth. Do not leave dirty plates, food scraps or a full cutlery cup sitting in the rack overnight when you can clear them sooner. After washing dishes, check whether the tray has pooled water and empty it if necessary.
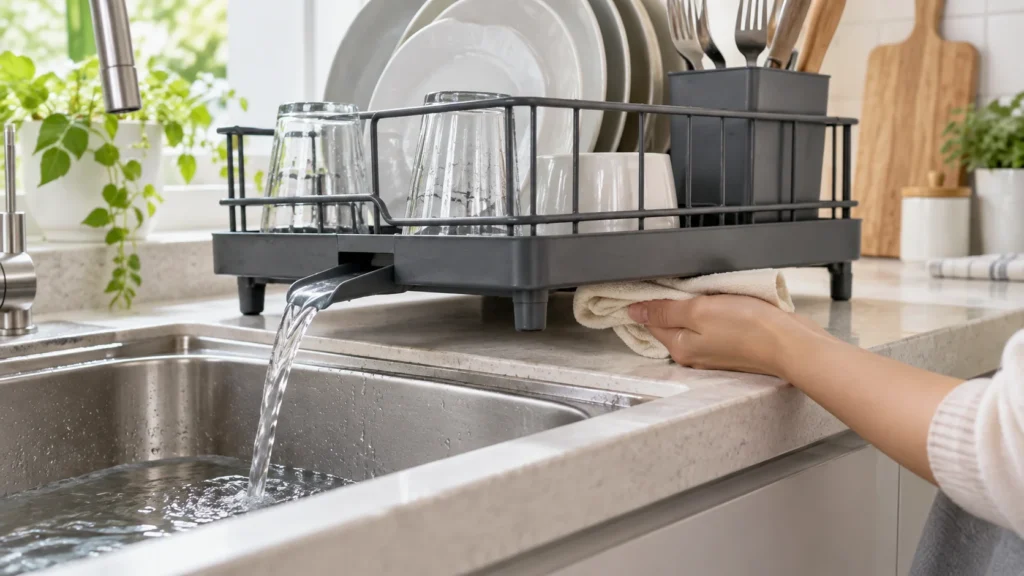
Keep the drainer’s outlet directed into the sink when the product is designed for that arrangement. Some models use a spout, slope or raised ribs to direct water away from the drying surface. Joseph Joseph describes these features for its Extend model, but the principle does not mean every drainer drains effectively in every sink. The outlet must align with the sink and remain unobstructed.
Once a week, or more often if the area stays visibly wet, lift the drainer and clean the countertop or draining board beneath it. Also inspect the feet and underside for slimy residue. If an odor persists after washing and drying, look for a concealed cavity, blocked outlet or damp sponge nearby rather than repeatedly adding stronger chemicals.
Removing limescale without damaging the finish
White, chalky deposits are often associated with hard-water minerals, but the correct treatment depends on the surface. Before applying an acidic descaler or vinegar, check the model’s instructions. Acids can damage or discolor some metals, coatings and finishes; the simplehuman guidance expressly says not to let acids contact its stainless steel.
If the official instructions permit vinegar for a particular plastic component, use only the stated method and rinse thoroughly afterward. Do not transfer that method to an unidentified metal rack. For a drainer with unknown construction, begin with warm water, mild detergent and gentle wiping. If scale remains, contact the manufacturer with the exact model number before escalating to a descaler.
Never combine cleaning chemicals. In particular, do not mix bleach with vinegar, acids, ammonia-based products or other cleaners. If a product label calls for ventilation or protective equipment, follow that label.
What to do about rust and surface damage
First distinguish a removable deposit from damaged metal. A brown mark may be transferred residue, but bubbling, flaking, pitting or exposed metal suggests that a coating or surface has been compromised. Avoid steel wool and aggressive scrubbing: these can scratch surfaces and worsen the problem.
If a mark remains after routine cleaning, photograph it and ask the manufacturer to identify the finish before choosing a treatment. A method intended for bare metal may be unsuitable for a coated rack.
If corrosion is spreading, the rack contacts dishes, or the surface is flaking, stop using the affected part until the manufacturer advises whether it can be replaced. Cleaning can remove residue; it cannot restore missing coating or reverse pitting. Take photographs and record the model number before contacting support.
Illustrative compatibility example
Question: Can you put a detachable plastic component in the dishwasher because it looks sturdy?
Inputs: Exact model: unknown; component: plastic; manufacturer instruction: not checked.
Decision: Hand-wash until you have checked the exact model’s care instructions. A component being detachable, or looking sturdy, does not establish that it is dishwasher-safe.
Pre-use inspection and maintenance
Before putting clean dishes into the drainer, check that the rack is stable, the tray is seated, removable parts are secure and the drain path is open. Look for sharp exposed wire, cracked plastic, loose feet, flaking coating or a damaged spout. Replace or repair parts only through an approved route for that model; do not improvise a food-contact repair with an unknown adhesive.
A simple routine is usually enough: clear food promptly, wash the drainer with a compatible mild method, rinse, dry and clean underneath it. Increase the frequency when several people use the kitchen, the rack remains wet for long periods, or mineral deposits return quickly. When care advice conflicts, the exact model’s official manual takes priority over general cleaning tips.