





How to Clean a Travel Mug Lid and Remove Coffee Odor
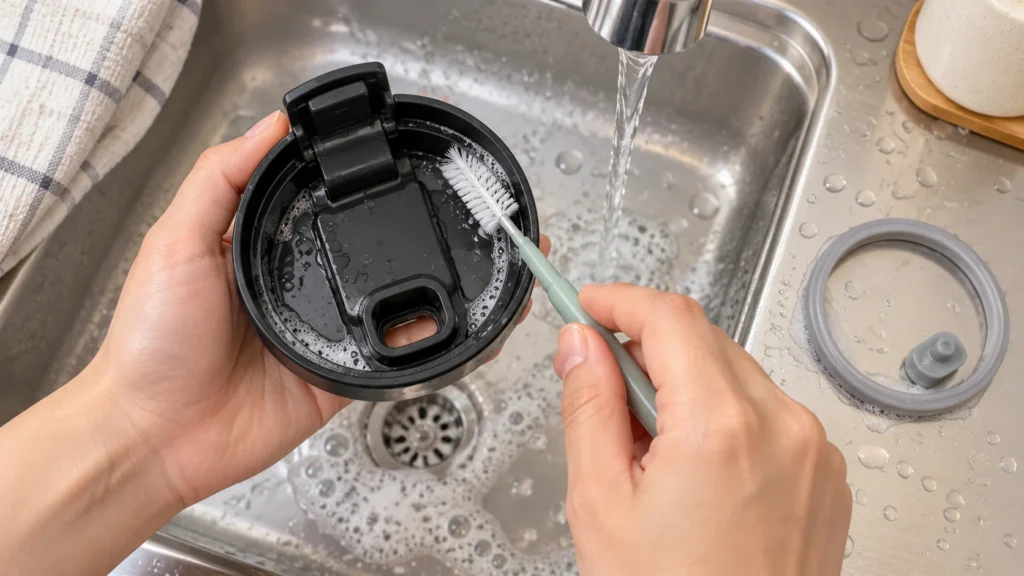
A quick rinse may leave coffee residue in the drinking opening, underside, seams or beneath a seal. That hidden film—and moisture trapped after washing—can contribute to a lingering smell. A careful clean does not require taking every lid apart: first check what the manufacturer says is removable, then wash accessible areas, rinse thoroughly and let each part dry fully before reassembly.
There is no universal care method for all travel mugs. Dishwasher suitability and approved cleaners can vary between models and between the lid and mug body. Use the instructions for your exact mug as the deciding source, not a general rule based on its material or brand. For help choosing a mug in the first place, see TheTopZone’s travel mug Top Picks.
Check the care instructions first
Before cleaning, look for the manufacturer’s manual or care page for your exact model. Check separately whether the body, lid, drinking mechanism and seals may go in a dishwasher, and whether any parts are designed to come off. A lid may have different care rules from the mug itself. For example, Ember says its Travel Mug 2 is safe to hand-wash and submerge up to 1 metre, while its leak-proof lid is dishwasher-safe; that advice applies to that model, not travel mugs generally (Ember’s Travel Mug 2 product page).
If you cannot find the instructions, choose a cautious hand wash with mild dish soap and warm water. Do not pry at a seal or mechanism because it looks detachable. Some lids have removable seals; others do not. A care guide discussing recommendations from several manufacturers warns against forcibly removing non-removable seals because doing so can damage parts or affect how the lid fits (XAB’s thermos and travel-mug care guide). Avoid assuming that boiling water, bleach, vinegar, baking soda, abrasive pads or cleaning tablets are suitable. Check the model’s instructions before using anything beyond ordinary dish soap and water.
Wash the lid without forcing it apart
Set out a clean basin or clear counter for small components. If the manual permits removing a seal, make a note of its orientation before taking it off; a quick photo can help you return it to the same position. If the instructions do not say a component comes off, leave it in place and clean around it. Do not treat a tight-fitting piece as proof that it is meant to be removed.
- Empty and rinse. Discard the remaining drink and rinse the lid promptly, especially after coffee with milk, creamer or syrup. Rinsing helps, but does not replace washing. Residue can remain in hard-to-reach lid areas, including around openings and seals, so include those areas in the full clean (XAB’s care guide describes lid recesses and seals as places where drink residue may collect).
- Separate only approved parts. If the manual says a seal or lid component is removable, take it off as directed. Keep small parts together in a clean place. If the instructions do not say a part comes off, leave it in place and clean around it.
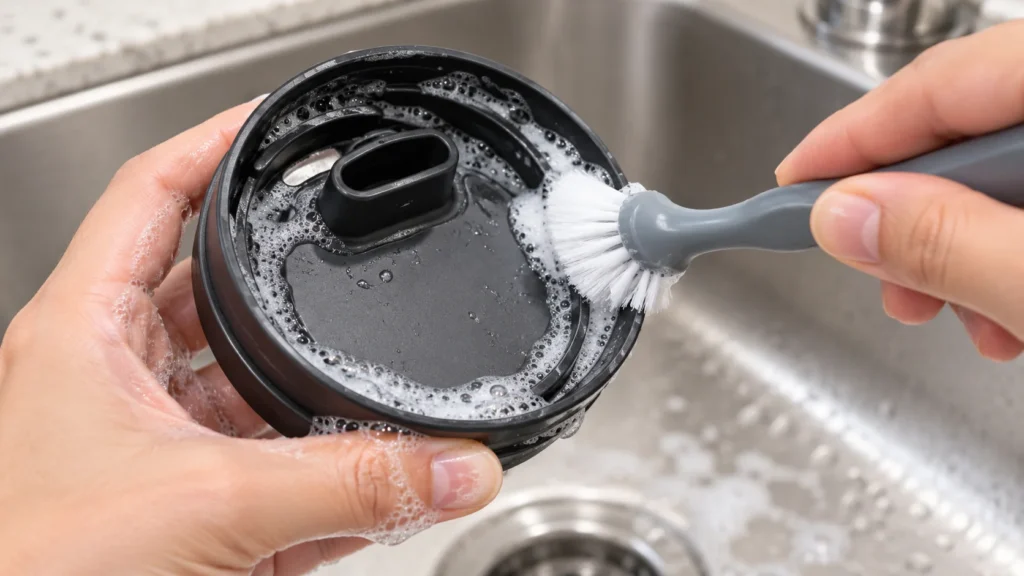
- Wash all reachable surfaces. Use warm water, dish soap and a clean, soft brush that fits the accessible spaces. Wash the top and underside of the lid, both sides of the drinking opening, seams, threads and moving-part edges. Wash an approved removable seal separately, including the surface that was against the lid. Do not use a sharp pick or metal tool to dig into a narrow gap; it can scratch a surface or damage a seal.
- Rinse carefully. Run clean water over the lid from different angles so it reaches the areas you washed. Rinse removable parts separately. Check for visible suds, and do not use fragrance from soap as a sign that the coffee odor has gone.
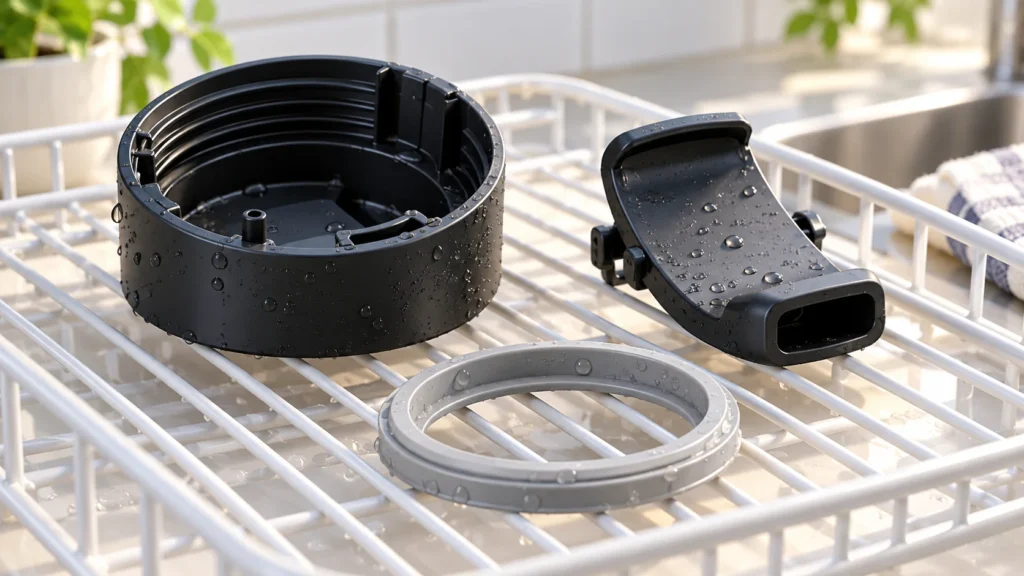
- Air-dry completely. Set the lid and removed parts apart with airflow around them. Leave the drinking opening open and do not reassemble the lid while a seal or crevice is damp. The care guide recommends thoroughly drying parts after washing; complete drying also helps avoid trapping moisture between closely fitted components (XAB’s care guide).
- Inspect, reassemble and check. Once everything is dry, smell the pieces individually to help locate any remaining odor. Put approved removable parts back in their original orientation. Check that the seal sits evenly and that the lid closes as intended before using it.
Find and remove lingering coffee odor
If the smell remains, repeat the ordinary wash and focus on the part that still smells. Inspect the drinking opening, the lid’s underside and any accessible seams or grooves. A lid’s small channels and seals can be harder to reach than the mug body; do not assume that a clean-looking outer surface means the whole lid has been washed. The care guide identifies recesses and seals as possible places for drink residue to hide (XAB’s thermos and travel-mug guide).
Do not jump straight to an overnight soak or a stronger cleaner. The right method depends on the lid’s materials and the manufacturer’s directions. A guide summarizing care advice across steel, ceramic-coated and glass drinkware cautions that methods suitable for one surface may not suit another, and recommends checking the model’s guidance before using treatments such as baking soda, vinegar or cleaning tablets (XAB’s care guide). Do not mix cleaning agents or improvise a concentration or soaking time. If the manual does not authorize a deodorizing treatment, stick with washing, rinsing and complete air-drying.
Once dry, smell the parts separately again. If one approved removable seal still smells, clean and dry it once more according to the manufacturer’s directions. If odor persists, or a part is cracked, warped, loose or no longer fits correctly, check the maker’s replacement advice or contact the manufacturer. Do not force a damaged or poorly seated seal back into service. A persistent smell alone does not establish that a lid is unsafe, but neither does an odor-free smell prove that it is clean: follow the care directions and inspect the parts.
Prevent odor from coming back
- Empty leftover coffee instead of leaving it in a closed mug when you can wash the mug.
- Wash the lid, including its underside and drinking opening, rather than rinsing only the visible surface.
- Give removable parts the cleaning and drying time the model’s instructions require; do not reassemble them damp.
- Store the mug with the lid open or separated when possible, so trapped moisture can escape.
- Use only cleaning methods and dishwasher settings the manufacturer approves for the specific parts.
When this routine does not apply
This is a cautious hand-washing process for accessible lid surfaces, not a substitute for a model-specific manual. It does not tell you to disassemble a sealed mechanism, use a dishwasher, or apply a deodorizing chemical. If the lid has electronics, unusual coatings, a damaged component or care instructions that call for a different method, follow the manufacturer’s directions instead. For a model with explicit instructions—such as Ember’s Travel Mug 2, whose lid and body have different stated cleaning allowances—follow those instructions for each part rather than transferring them to another mug (Ember).
The practical sequence is simple: check, separate only approved parts, wash reachable surfaces, rinse, dry fully and inspect before reassembly. That targets common hidden residue without assuming every travel-mug lid can be taken apart or cleaned the same way.