Indicator light cake pop makers use a power light and a ready light to reduce guesswork during cooking. For this type, buyers want more than lights. They need even browning across the mold plates, clear heat-up timing, and results that release cleanly.
Picking the right one is hard because the lights do not fix uneven heating or weak nonstick. Some models heat faster but still leave soft centers. Others cook evenly but make batter messes harder to clean from edges.
Use the buying checks below to match your kitchen needs with the right signals and performance for this sub-category. Looking for all types? See our Best Cake Pop Makers.
Quick Overview
Our Top Picks
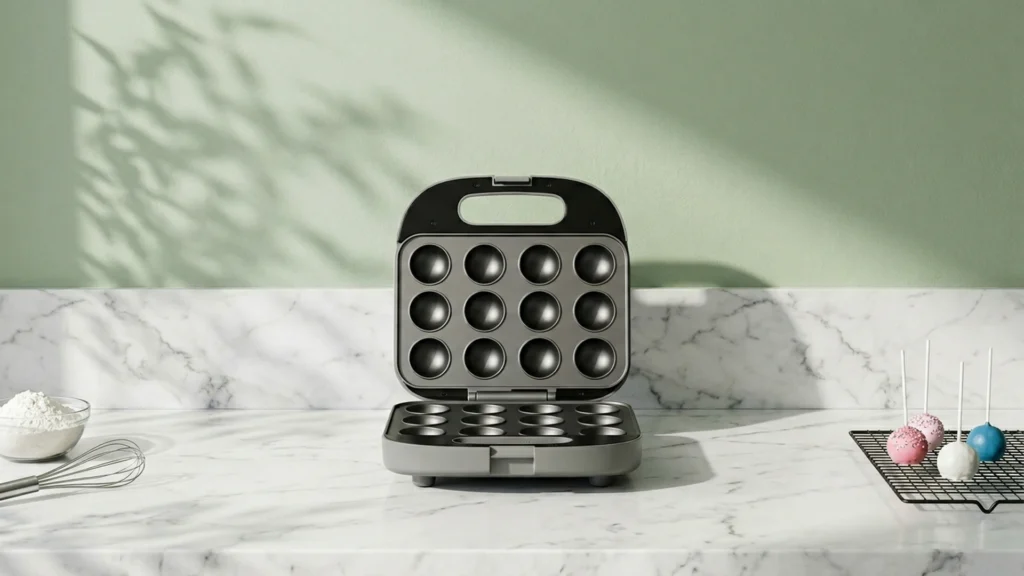
#1. Holstein Housewares 12-Count Cake Pop Maker

Specifications
| Brand | Holstein Housewares |
|---|---|
| Capacity Cake Pops | 12 cake pops |
| Wattage | 760 W |
| Indicator Lights | Power/Ready Lights |
| Housing Material | Stainless Steel |
| Weight | 3.9 lb |
Pros
- Steady heat, consistent results
- Clear ready indication
- High capacity batches
Cons
- Low wattage heating
What sets this Holstein Housewares model apart for indicator light cake pop makers is how clearly it tells you when to start and when to keep going. The Power/Ready Lights help remove the guesswork, which matters when you want evenly cooked pops. In practice, it holds steady heat across its 12 cake pop cavities, so batches come out more uniform from one run to the next.
The trade-off is that it runs at 760 W, so cooking can feel a bit slower than higher watt units. If you like a steady pace and rely on indicator lights to stay consistent, it is a strong fit for regular home batches. If you need the fastest possible cook time, you may notice the difference.
#2. BELLA Pink Mini Cake Pop Maker

Specifications
| Brand | BELLA |
|---|---|
| Capacity Cake Pops | 4 cake pops |
| Wattage | 350 W |
| Indicator Lights | Ready Light |
| Dimensions | 4.84 x 3.54 x 6.88 in |
Pros
- Quick rinse, minimal residue
- User-friendly controls and lights
- Clear ready indication
Cons
- Low wattage heating
- Small batch output
- Limited performance evidence
The BELLA Pink Mini Cake Pop Maker is a standout option in the indicator-light cake pop maker category thanks to its simple Ready Light. That clear signal helps you avoid guessing when the unit is hot enough to start cooking. In everyday use, it also cleans up well, with a quick rinse and minimal residue, which matters because cake pop batter can get messy fast.
The main trade-off is heating power. At 350 W and with a 4 cake pops capacity, it is not the best pick if you want fast, high volume batches or strong browning every time. This model fits best for smaller family runs and casual projects where you mainly want an easy, low-stress way to cook pops with a clear ready indicator.
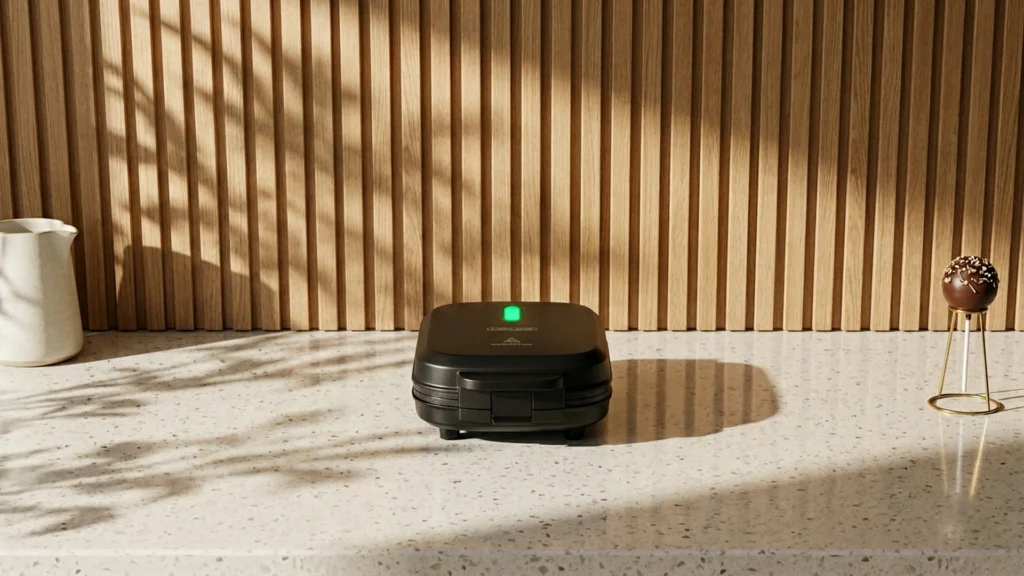
#3. Babycakes Mini Cake Pop Maker

Specifications
| Brand | Babycakes |
|---|---|
| Capacity Cake Pops | 9 cake pops |
| Wattage | 500 W |
| Indicator Lights | Power Light |
| Housing Material | Non-Stick Metal |
Pros
- Quick bake times
- Clean release results
Cons
- Low wattage heating
- Limited/no readiness cues
- Mold underfilling issues
In the indicator light cake pop maker category, the Babycakes Mini Cake Pop Maker stands out for its simple control. It uses a Power Light, so you know when the unit is on, and it heats quickly enough to keep you moving. That speed helps when you want consistent batches without long waits. The flip side is that it does not give much guidance on doneness beyond power, so you still need to watch time and texture closely.
The biggest trade-off is heat strength. At 500 W, the bake can run a little light, and some cooks report underfilling issues in the molds. This maker works best for beginners who keep portions even and do not overfill. If you want stronger readiness cues and more forgiving heat for darker, fully set pops, you may need to look at a higher wattage model.
What to Look For
Even Cooking Across Cavity: Use indicator light units that set and brown batter consistently in every cavity. You should not see hot spots that crisp the edges while centers lag.
Ready Light Timing That Matches Real Doneness: A true ready indicator helps you stop at the right moment. Look for makers where the ready light lines up with firm, set cake pops across batches, not just on the first try.
Sturdy Build and Reliable Latch: Check that the hinge and closure hold firm under heat. A tight latch helps keep cooking even. Cheap plastic housings can loosen or warp with repeated use.
Release and Nonstick That Stays Smooth: When you remove cake pops, the coating should let them slide out with minimal tearing. Cleanup matters most around the cavity edges where residue builds up.
Practical Size and Batch Fit: Match capacity to how often you make pops. Higher counts only help if the maker can still cook evenly and release cleanly during full batches.
How We Picked
We identified candidate units through broad research across review sites and buyer forums. We then filtered to only those that clearly include indicator lights for power and or readiness during baking, which is the defining feature of indicator light cake pop makers.
We scored every qualifying model with the same objective pillar framework used in the main cake pop maker guide. That framework emphasizes performance consistency, build quality, ease of use with the lights, cleanup effort, and value at the typical price point for this sub-category.
Frequently Asked Questions
What do the power and ready indicator lights mean on a cake pop maker?
The power light turns on when the unit starts heating. The ready light signals the plates reached the set cooking temperature. Use the ready light before you add batter so pops cook evenly. If you keep cooking too long, the lights do not stop overbrowning.
Do indicator lights improve how evenly cake pops cook across the plates?
They help by reducing guesswork about when heat is stable. A consistent preheat matters for getting set edges and cooked centers. Even with good lights, batter thickness and fill level still affect browning. For best results, use the same batter scoop each batch.
How should I clean an indicator light cake pop maker after baking?
Let the plates cool completely before you wipe or clean them. Use a soft damp cloth to remove crumbs and small batter spots. Avoid metal tools that can scratch nonstick coating. For baked-on residue, gently warm the plates briefly, then wipe again.
When should I choose a non-indicator light cake pop maker instead?
Skip indicator light models if you already know your kitchen timing and you watch doneness closely. Some simple models can still make good pops, but you must manage preheat and cook time by feel. Indicator lights help beginners avoid undercooking and uneven results. If you often bake in small bursts, lights also reduce wait time mistakes.
How do indicator light cake pop makers compare to other cake pop makers in ease of use?
Indicator lights make it easier to time your batter start and finish. They reduce the chance of opening too early or too late. Other cake pop makers may require more manual timing or trial and error. If you want repeatable batches, indicator lights usually offer a clear upgrade.