





How to Clean a Grain Mill After Grinding
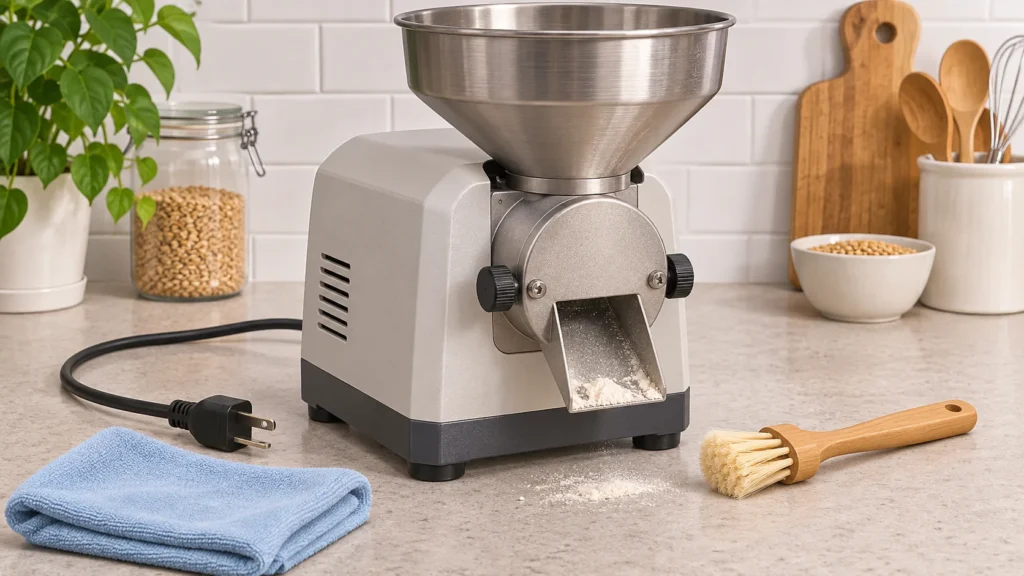
After grinding, a little flour may remain in the outlet or milling chamber. The right cleanup depends on your mill: a method allowed for one design may damage another, and some parts must stay dry. Start with the manual for your exact model. Use the routine below as a decision guide, not as permission to dismantle, rinse, or purge every mill the same way. For help choosing a mill in the first place, see TheTopZone’s grain-mill Top Picks.
Start with the model manual
Before cleaning, identify the manufacturer and model, then find its care instructions. Check what the manual says about the outlet, grinding parts, removable containers, filters, and motor base. Confirm whether a brush, rice purge, compressed air, hand-washing, or dishwasher use is allowed for each part. If the directions are missing or unclear, look up the maker’s support page for that exact model rather than assuming that all mills are cleaned alike.
As a general precaution, stop the mill before cleaning and disconnect power if the manual directs you to do so. Follow the maker’s instructions about cooling, opening, and removing parts. Do not reach into a running mill, force stuck components, or use a tool that the manual does not approve. The general principle to keep moisture away unless the maker specifically permits it is also reflected in this grain-mill cleaning overview; the exact model’s directions still take priority.
The after-use cleanup
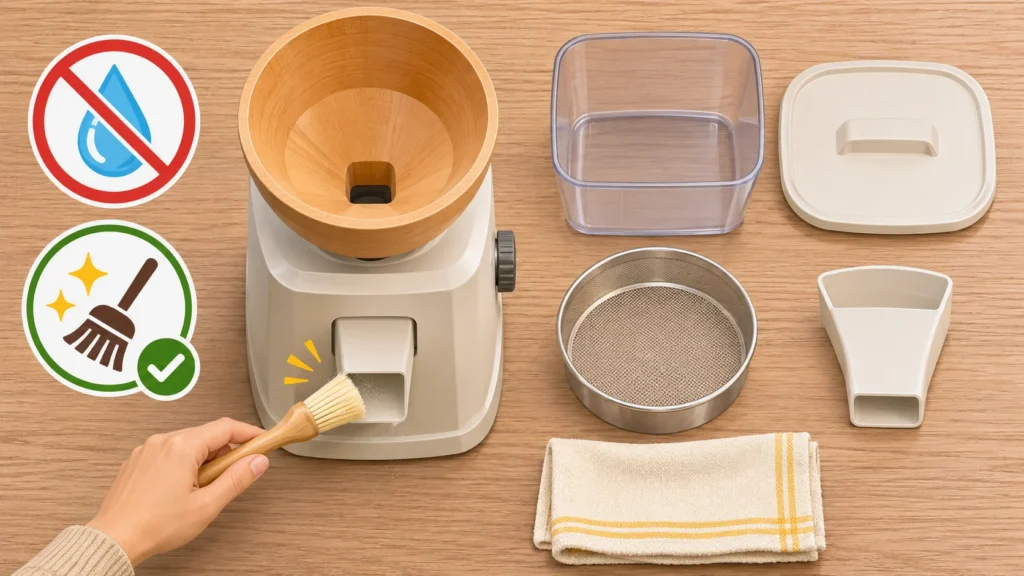
For routine cleanup, focus on loose flour and parts the manual identifies as user-cleanable. Empty leftover grain from the hopper if the instructions call for it. Brush flour from the outlet and any accessible areas where the manual permits brushing. Wipe the exterior with a dry cloth, or a slightly damp one only if the maker allows it. Keep the cloth from dripping and do not wipe moisture into openings. If a container or lid is removable, clean it only by its stated method, then let it become fully dry before putting it back if the maker requires that.
Do not automatically wash a grinding chamber, stones, burrs, or impact heads. The NutriMill Harvest instructions, for example, say not to wet its stones and describe using a brush on the flour spout; that is a model-specific rule, not a universal recipe. NutriMill’s Harvest cleaning and maintenance instructions also describe running the mill briefly after grinding to clear flour. Only use that approach if it is allowed for your own mill.
When deeper cleaning is needed
Consider a deeper clean when you see buildup, notice flour output has changed, or are changing ingredients and need to address traces from a previous batch. First check the manual for the approved method and the trigger for deeper cleaning. Do not disassemble the mill just because a part appears dusty. Some designs provide instructions for removing components; others may not. Use only the documented steps, tools, and cleaning materials.
Rice purging is not a safe default for every mill. NutriMill says to run white rice through its Harvest on a coarse setting to clean the stones, and its Impact instructions specify milling one to two cups of white rice at the fastest feed rate to clean the milling heads. Those are different instructions for two specific models. Check the current instructions for your own model before trying a rice purge, and use the stated quantity and setting rather than substituting one mill’s directions for another.
Likewise, the Impact’s manufacturer says its hopper, canister, canister lid, Cyclo Cup, and filter holder are dishwasher safe, while the motor base must not be immersed and should only be spot-cleaned. Those allowances apply to the listed Impact parts; they do not establish that another mill’s parts are dishwasher-safe. If the manual does not clearly allow water or dishwashing for a component, do not assume it is washable.
Illustrative example: a Harvest with stone residue
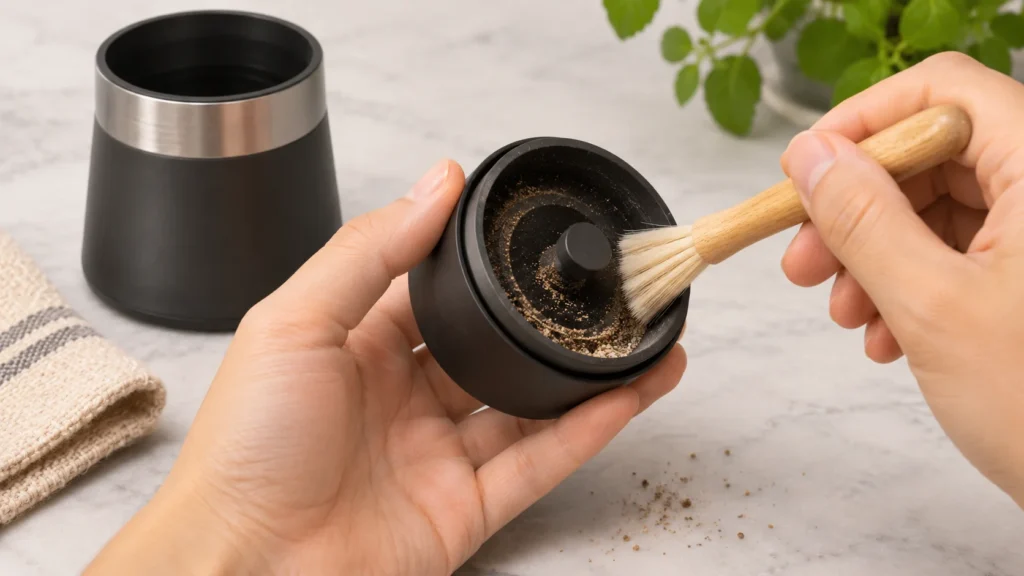
Suppose you own a NutriMill Harvest and see flour left near its stones after use. Its instructions give a specific route: use white rice on a coarse setting for the cleaning purge, discard that flour, and brush the outlet. If the stones need to be removed, the support instructions say to turn off and unplug the mill, remove the hopper as directed, and clean the stone with a dry brush or compressed air. They expressly warn against water or liquids on the stones. This example applies to the Harvest instructions, not to mills generally.
Dry and check before the next use
Before storing or using the mill again, confirm that cleaned, washable parts are dry as required by the manual, and that any removed parts are correctly reassembled. Check the outlet and collection area for visible leftover flour, and make sure no cleaning brush, cloth, or loose part has been left inside. If anything is cracked, loose, blocked, or difficult to reassemble, do not force it; consult the manufacturer’s troubleshooting or service guidance.
NutriMill’s Harvest support page lists inconsistent or slower flour output, unusual flour texture, and residue from a previous batch among signs that cleaning may be needed. Treat those as prompts to inspect and follow that model’s cleaning directions—not as proof that cleaning is the only possible fix. Stop and consult the maker if you notice an unexplained burning smell or excessive noise, which the same page also identifies as reasons to address the mill.
Avoid residue and cross-contact
Keep grains dry and suitable for your mill. NutriMill says not to mill oily or wet grains in its Harvest because they can leave residue and clog the stones; check your own mill’s ingredient restrictions rather than applying that statement to every design. Emptying leftover grain and keeping the mill in a dry storage location are also among the Harvest maker’s maintenance recommendations.
If you are cleaning between ingredients because someone needs to avoid an allergen, do not assume a quick brush or rice purge is enough. The Harvest product information warns that a mill previously used for wheat and certain other gluten-containing grains may carry traces into other grains, and recommends a mill dedicated to gluten-free grains for baking for someone with celiac disease. Cleaning is not a substitute for verifying whether the exact equipment and process are appropriate for your needs. Follow manufacturer guidance and, where necessary, seek qualified advice.
A simple cleaning decision
- Routine flour dust: use the manual-approved dry brush or cloth on accessible areas.
- Residue at grinding parts: use a purge, removal, or deeper-cleaning method only when the exact model’s instructions permit it.
- Water or dishwasher question: check the directions for that specific part; do not infer washability from a different mill.
- Persistent blockage, damage, or unusual operation: stop, avoid forcing parts, and consult the manufacturer.
A cautious routine is simple: check the model directions, clear accessible residue using approved dry tools, and reserve deeper cleaning for the method the manufacturer specifies. That protects parts from improvised moisture or disassembly while helping prevent old flour from lingering where it can be reached.