





How to Use a Guided Clamp Knife Sharpener
A guided clamp sharpener holds a knife in a fixed position while an abrasive travels along a guided path. The setup can make it easier to repeat an angle, but it does not decide which angle suits your knife or compensate for a blade that is clamped poorly. Follow the manual for your exact sharpener first: clamp designs, angle references and permitted blade shapes vary.
This walkthrough uses the original WORK SHARP Precision Adjust as a clearly identified example where its official product information supplies model-specific details. The sequence is not a substitute for another sharpener’s manual. For broader help choosing a system, see TheTopZone’s knife sharpener Top Picks.
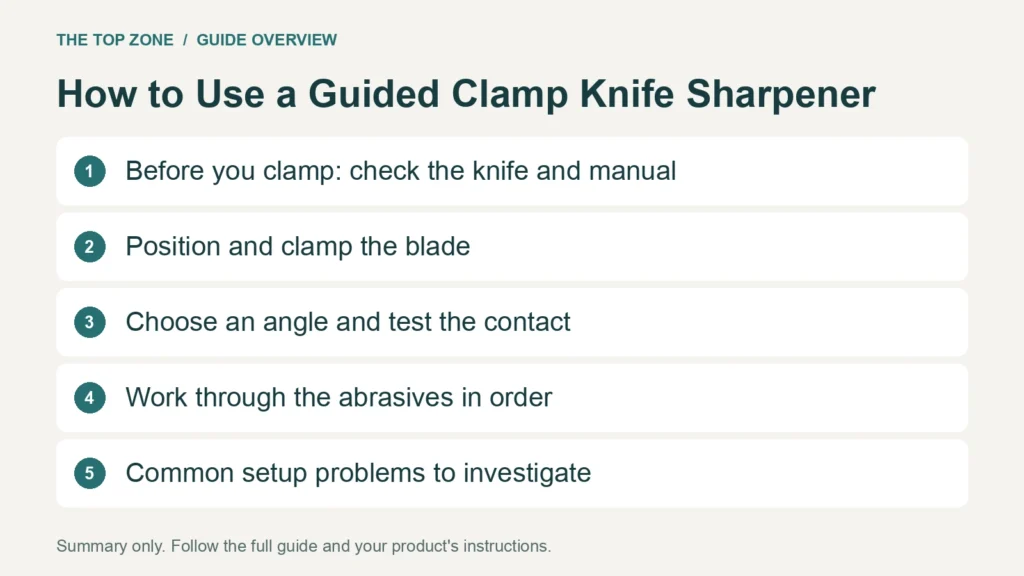
Before you clamp: check the knife and manual
Start with a clean, dry blade and a stable, well-lit work surface. Keep fingers away from the edge while handling and repositioning the knife. Inspect the blade for a straight edge, a serrated edge, a pronounced curve, or a tip shape that might make it difficult to keep an abrasive in contact. A clamp system that suits a straightforward kitchen or pocketknife may not be appropriate for every blade. Check the manufacturer’s supported uses and instructions rather than assuming one system fits all knives.
Look up the sharpener’s instructions before setting an angle or starting a stroke. Identify how the knife is meant to sit in the clamp, how the angle is measured, and whether the abrasive should be used dry or with a lubricant. For example, WORK SHARP describes its original Precision Adjust as having an adjustable 15°–30° range, a V-block clamp and coarse-diamond, fine-diamond and fine-ceramic abrasives. Its product page says this model is intended to be used dry, and advises prompt drying if water is introduced. Those details apply to that model, not automatically to every guided sharpener. Check WORK SHARP’s Precision Adjust product information and linked user’s guide.
Do not assume a factory edge’s angle from the knife’s appearance. If you do not know the existing bevel, use the knife maker’s guidance where available and consult your sharpener’s manual about how to match or set an angle. A number shown on one sharpener may not be directly comparable with a number on another if their measuring references differ.
Position and clamp the blade
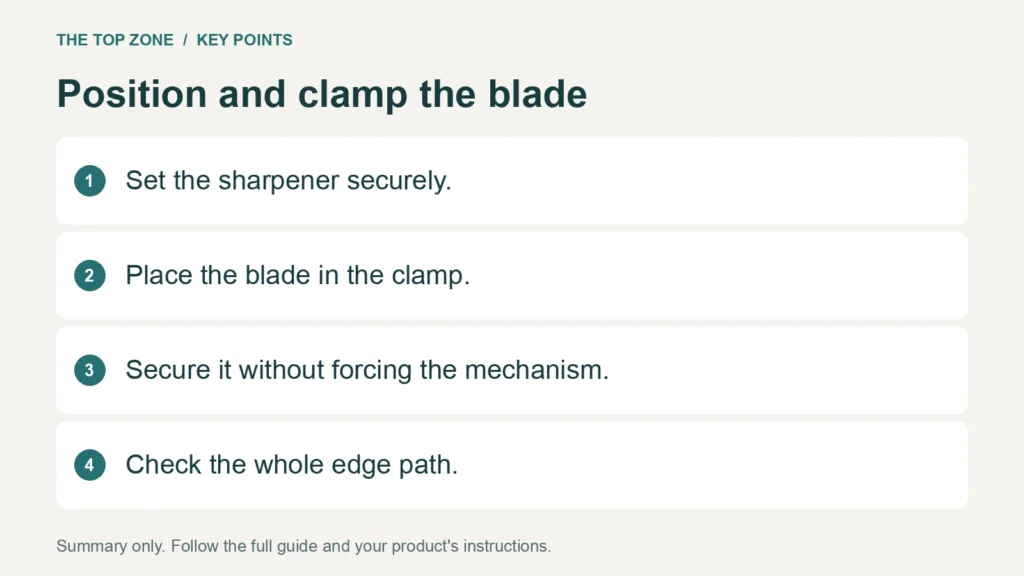
- Set the sharpener securely. Put the base on a level, stable surface and assemble the guide and abrasive holder as its instructions specify. Check that the guide moves as intended before bringing it to the edge.
- Place the blade in the clamp. Follow the manual’s directions for how far the blade should extend and where it should sit. Keep the part of the edge you intend to sharpen accessible to the abrasive throughout the guided movement.
- Secure it without forcing the mechanism. Tighten the clamp as instructed, then check that the blade is held firmly and does not shift when the guide passes alongside it. Avoid gripping, bracing or adjusting the sharpener in a way that brings your fingers near the edge.
- Check the whole edge path. With the abrasive clear of the blade, move the guide through its working range. Confirm that the abrasive can reach the heel, middle and tip without striking the clamp or losing contact. If it cannot, stop and reposition the blade according to the manual; do not improvise a new clamp arrangement.
Blade position affects the guided path, so a knife that shifts between sides or during a pass can undermine consistency. Some blades—with very narrow sections, unusual profiles or a strongly curved tip—may be awkward to position. If the manual does not explain a suitable setup, contact the manufacturer or use a method intended for that blade instead of forcing a poor fit.
Choose an angle and test the contact
Choose an angle with the knife’s intended use and the maker’s guidance in mind. There is no single angle that is right for every knife, and a guided system’s available range is a product limit rather than a recommendation for your blade. If you are maintaining an existing edge, matching its bevel is a practical starting point when your sharpener’s instructions explain how to do so. If you want to change the edge geometry, understand that this can require removing more metal; do not use a new angle just because it is available on the dial.
Set the angle using the sharpener’s own scale or method, then verify abrasive contact with the bevel before sharpening. A marker can help reveal contact: color the bevel, make a very light pass, and inspect where the mark has been removed. If contact is only at the shoulder or only at the edge, consult the manual and adjust the setup or angle. Do not continue making full sharpening passes while the abrasive is missing the bevel.
As general guidance for a different type of guided sharpener, DMT instructs users of its Aligner system to set its opposing clamp eyehooks to the bevel angle, attach the clamp perpendicular to the blade spine, and guide the sharpener along the bevel. That procedure illustrates why clamp orientation and angle setting matter, but its eyehook instructions should not be transferred to another model. Read DMT’s sharpening instructions for its Aligner system.
Work through the abrasives in order
Begin with the least aggressive abrasive that can reasonably address the edge’s condition. A coarse abrasive may be needed for a substantially dull or damaged edge, but it removes material more quickly than a finishing stage. For routine maintenance, starting coarse without a reason can do unnecessary work. Use the grit sequence provided for your particular system; names such as “coarse,” “fine” and “ceramic” are not interchangeable specifications across brands.
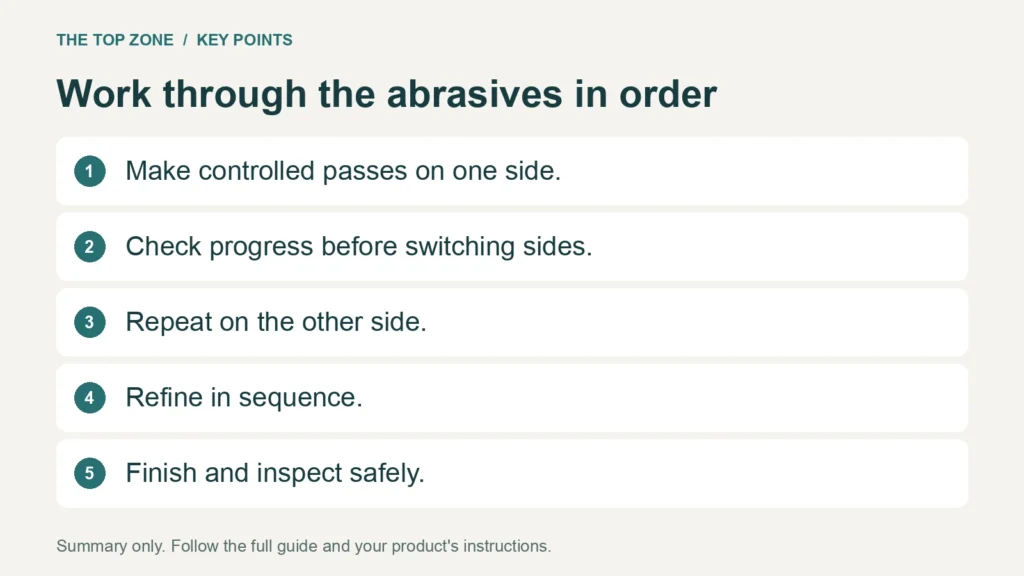
- Make controlled passes on one side. Keep the guide’s contact and movement consistent, using light pressure and the direction described in the manual. Avoid pressing hard to speed up sharpening.
- Check progress before switching sides. Follow your sharpener’s instructions for deciding when an abrasive has done enough work. If you are using a burr as a progress cue, learn the correct method for your blade and system first; do not assume a burr has formed simply because you have made a set number of passes.
- Repeat on the other side. Reposition or flip the blade as instructed, checking that it remains secure. Work the corresponding section of the edge before moving to a finer abrasive.
- Refine in sequence. Move from coarser to finer abrasives, cleaning or changing plates as the manufacturer directs. Use lighter, deliberate strokes as you refine, and avoid returning to a coarse stage unless inspection shows it is necessary.
- Finish and inspect safely. Remove residue as directed, keep hands clear of the edge, and check that the edge is even along its length. Use an appropriate cutting test carefully; never test sharpness by running a finger along the blade.
The original Precision Adjust includes coarse and fine diamond plates plus a fine ceramic abrasive, according to WORK SHARP. That is the sequence of available stages, not a promise that every knife needs all three on every session. The company says sharpening results and abrasive life vary with blade condition, size, steel and pressure, so do not treat a fixed pass count as universal. Use the model’s own instructions for abrasive changes and technique.
Common setup problems to investigate
- The blade shifts: Stop and reclamp it following the manual. Do not keep sharpening a moving blade.
- The abrasive misses part of the bevel: Recheck the angle and blade position, then use the manufacturer’s contact-check method before continuing.
- The tip or heel is difficult to reach: Check the permitted blade position and guide path. Reposition only as directed; do not let the abrasive collide with the clamp.
- The edge looks uneven after changing sides: Check whether the blade sits consistently in the clamp and whether you are following the same guided path on both sides. Avoid compensating with extra pressure.
- The sharpener or abrasive is wet: Follow that model’s care instructions. WORK SHARP’s dry-use advice applies to its Precision Adjust, not to all sharpening systems.
Guided sharpening is useful when a blade fits the clamp and you can follow the system’s setup and angle instructions. It is not a universal method for serrations, unusual blade profiles, or knives the manufacturer says are incompatible. In those cases, consult the knife or sharpener maker and choose a suitable method rather than forcing the setup.