





How to Anchor a Home Safe Without Damaging the Floor
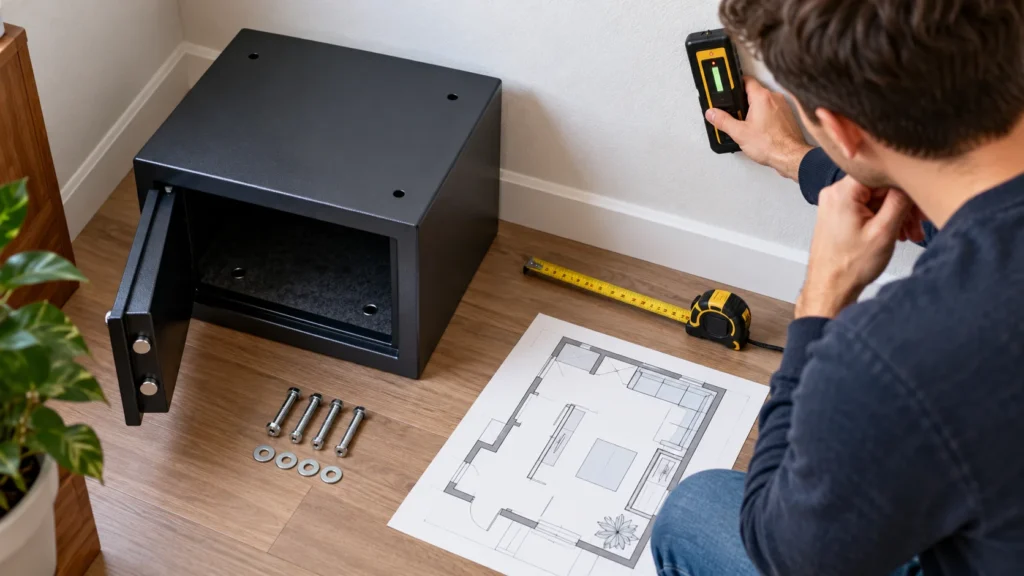
Anchoring a safe can make it harder to move, but a rushed installation can damage flooring or leave the safe attached to an unsuitable surface. The right approach is to plan the location first, confirm exactly what the safe is designed to accept, and stop if you cannot identify a safe, compatible mounting method. Bolt-down readiness is not proof that an installation—or a safe—will defeat a particular attack.
This guide covers how to make that decision and prepare for a careful installation. For help choosing a safe in the first place, see TheTopZone’s home safe Top Picks.
Start with the safe’s mounting instructions
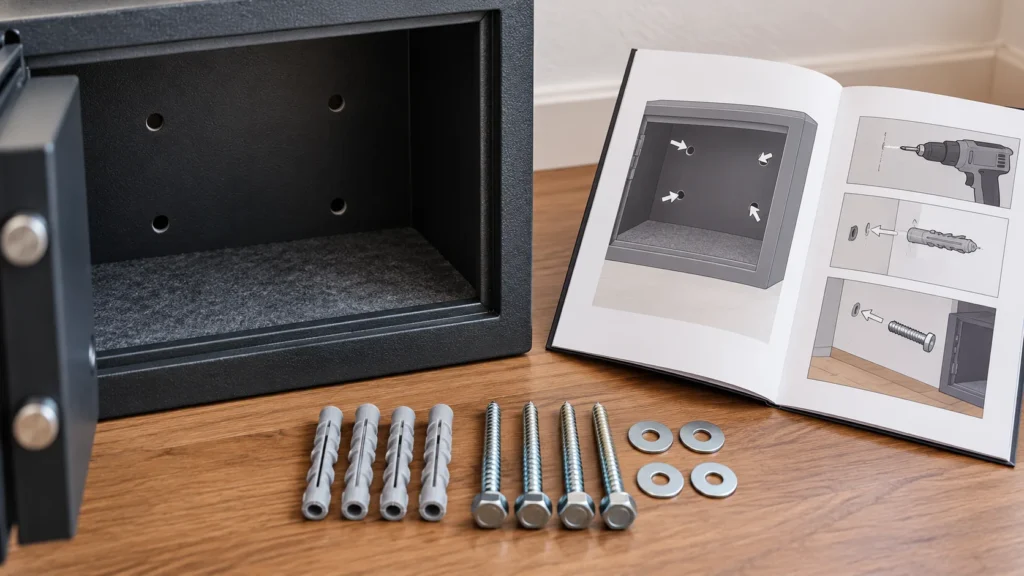
Before choosing a location or buying hardware, find the manual for the exact safe model. Look for whether it is designed to mount to a floor, a wall, or either; where its mounting holes are; what hardware is supplied or specified; and any warnings about installation. A safe’s holes alone do not establish that any bolt, screw, or anchor will fit or hold appropriately.
Use the manufacturer’s instructions for the model in front of you, not an assumption based on another safe from the same brand. For example, SentrySafe lists a bolt-down kit among the accessories for the SFW123ES, but that product page does not establish that the kit suits other models, floor types, or installation conditions. Check the manual and the kit’s own instructions before proceeding. The Bob Vila home safe guide also describes bolt-down hardware as a feature of particular models; it is not a substitute for the instructions for your safe.
If you cannot find instructions for the exact model, contact the manufacturer before drilling. Do not enlarge mounting holes, substitute hardware, or drill through the safe to make an installation work unless the manufacturer specifically directs it. Altering the safe may damage it or compromise its intended construction.
Choose a location before drilling
First check practical access: can the safe reach the proposed location, open fully there, and be used without blocking a doorway or creating a trip hazard? Consider the safe’s weight and route into the room, and follow the maker’s handling guidance. If moving it would require lifting beyond your ability or equipment, arrange appropriate help rather than risking an injury or damaging the floor.
Then identify what is beneath or behind the proposed mounting points. A floor may conceal plumbing, wiring, heating components, or other services. Do not guess based on what is visible in the room. Check building plans if available and use appropriate detection methods; if you cannot confidently rule out a hazard, ask a qualified professional to assess the location before drilling. Similarly, check for underfloor heating or other installed systems using reliable property information rather than assuming a floor is clear.
Think about the flooring and the structure below it as separate questions. A finish such as tile, wood, or carpet does not by itself tell you what the floor is made of or whether it can accept a particular anchor. A drilling plan that is suitable for one construction may not suit another. If you do not know the floor construction, or the manual does not cover it, get advice from the safe manufacturer or an appropriate installer.
For a rental or shared property, check permission before making holes. If the property owner does not approve drilling, do not improvise a bolt-down installation. A free-standing safe may remain removable, but it is not equivalent to one securely anchored. Decide whether that limitation is acceptable for your needs, or seek a permitted alternative. Do not describe an unanchored safe as bolted down or secured to the building.
Match the hardware to the surface
Choose hardware only after you have confirmed the safe’s mounting instructions and the surface you intend to attach it to. The relevant match is between the safe’s mounting points, the specified hardware, and the actual floor or wall construction. A bolt that fits through a hole is not automatically the right anchor for the material below it.
- Use specified hardware where required. Check the manual for supplied parts, required sizes, and installation directions. If hardware is missing or its suitability is unclear, ask the manufacturer what is compatible with your exact model and surface.
- Do not treat all floors alike. Concrete, timber-based floors, and finished surfaces present different installation questions. Do not transfer an anchor choice from one type of construction to another without confirmation.
- Protect the finish without weakening the installation. Plan how to avoid unnecessary scratches while positioning the safe, but do not add improvised pads, adhesives, or spacers where they would prevent the safe from sitting as its instructions require.
- Stop if the instructions and site conflict. For example, if the specified location would intersect a suspected utility, or the prescribed hardware does not suit the confirmed surface, do not drill. Find another approved location or ask a qualified installer.
There is no universal, floor-safe bolt or shortcut that can be recommended without knowing the safe model and construction. The packet’s product sources do not provide a general anchor specification for every home, so this guide does not prescribe bolt dimensions, drilling depth, torque, or a substitute installation method.
Prepare and install carefully
Once the manufacturer’s instructions, property permission, location, and hardware all check out, prepare the area before drilling. Remove items that could obstruct the work, protect nearby surfaces from dust, and make sure the safe is positioned as directed. Read the full installation sequence first so you know what has to happen before the safe is placed or fastened.
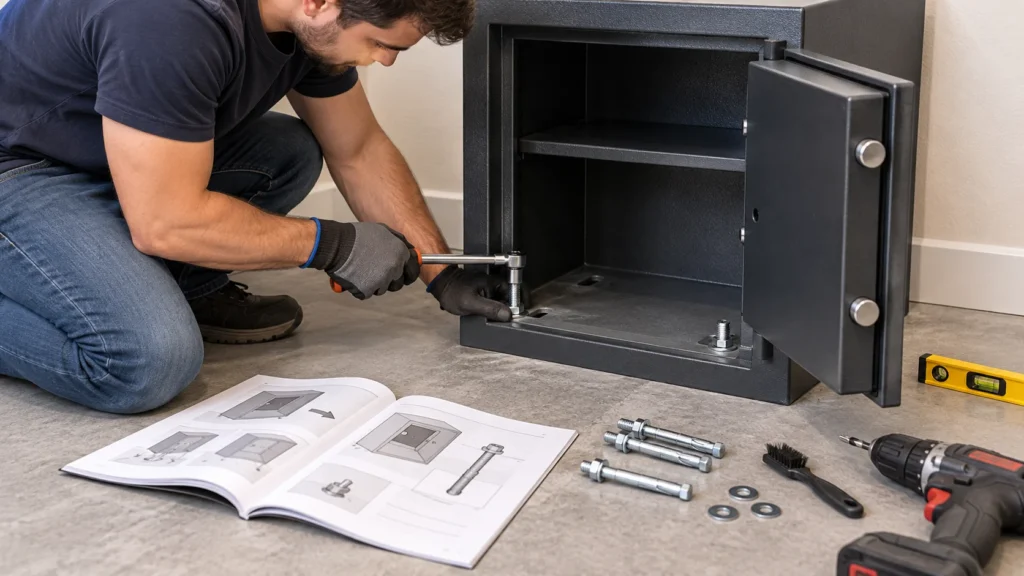
Follow the manual for the exact hole locations, tools, and sequence. Keep the safe aligned with its mounting points, and avoid forcing hardware or continuing if a hole, anchor, or bolt does not behave as the instructions describe. If the work requires tools you are not competent to use, or you encounter unexpected resistance or an unknown floor layer, stop and consult an installer. Do not assume extra force will solve a mismatch.
After installation, check the safe against the manufacturer’s directions: confirm that the specified fasteners are in place and that the safe sits and operates as intended. Do not invent a strength test by pulling, rocking, or loading the safe beyond what the maker recommends. If it shifts, the floor is damaged, or the fasteners appear loose, stop using the installation as though it were secure; contact the manufacturer or a qualified installer to identify the cause and next step.
What anchoring does—and does not—prove
A correctly installed anchor can make a safe less convenient to remove than an unanchored one, but it does not establish a security rating, guarantee resistance to forced entry, or show that the chosen location is secure against every risk. The safe, its lock, its construction, the installation, and the building surface are distinct parts of the situation. Do not infer a tested security result from the presence of mounting holes or a bolt-down kit.
Anchoring also does not provide fire or water protection. Those claims depend on the particular safe and its applicable ratings or manufacturer information. For instance, SentrySafe lists specific fire and water protection information for the SFW123ES; those statements concern that model and should not be generalized to another safe or to an installation. Likewise, a product feature described in a buying guide is not evidence that a specific installation has been inspected.
A practical location decision
Illustrative example: You own a bolt-down-ready safe, but the only convenient spot is over a floor area where you cannot confirm whether a pipe or cable runs below. The manual shows mounting holes, but it does not remove the uncertainty about the floor. In this situation, do not drill based on the hole pattern alone. Check reliable building information or have the area assessed. If the location cannot be cleared, choose another location that fits the manual or ask a qualified installer to advise. If neither is possible, leave it unanchored rather than risk damaging a hidden service or making an unsupported installation. This example is a decision process, not a claim that any particular unanchored safe provides equivalent security.
Before treating the job as complete, make sure the installation follows the instructions for the exact safe, the hardware is approved for both the safe and the surface, the drilling location has been checked for hidden services, and any required property permission has been obtained. If one of those conditions is unresolved, the practical next step is to pause—not to improvise.