





How to Set Up a Pilates Reformer Safely at Home
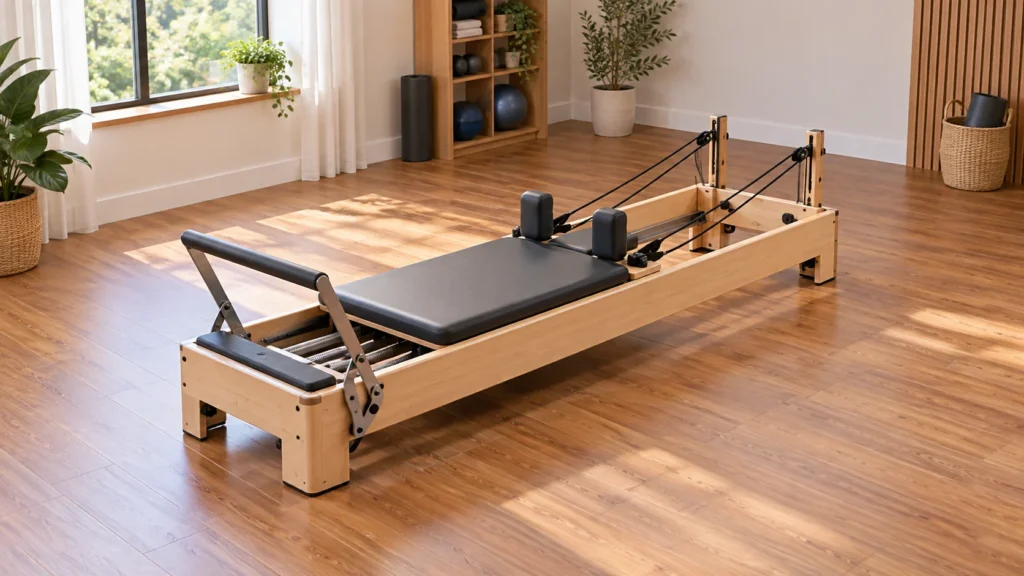
A safe first session starts before you step onto the carriage. Check the assembly against the instructions for your exact reformer, place it on a stable surface with room to move around it, and inspect the resistance system and attachments. Then test the carriage without adding your body weight. If anything is loose, damaged, unstable or behaving unexpectedly, stop and resolve the problem before exercising.
Reformers differ in their frames, resistance systems and adjustment mechanisms, so this is a general pre-use process—not a substitute for your model’s assembly and safety instructions. Manufacturers offer different reformer models and configurations; for example, Balanced Body’s equipment site presents multiple reformer models. Find the manual for the machine you own rather than assuming another model’s instructions apply. The Top Picks guide to Pilates reformers can help with choosing a machine; this guide is about checking one you already have.
Start with the model instructions
Find the assembly and user instructions for the exact make and model. Use them to verify that the frame is assembled as directed and that adjustable parts are fitted and locked in the positions specified by the manufacturer. Do not rely on a video or manual for a similar-looking reformer: release catches, spring connections and folding mechanisms can differ.
If the reformer arrived recently, finish every assembly step before testing it. Check the places the manual identifies for fasteners, frame connections, feet, rails, footbar and shoulder rests. Confirm that each part that is meant to lock or secure is engaged. Do not guess at a missing bolt, substitute hardware or modify the frame. Contact the seller or manufacturer if parts are missing, a fitting will not secure, or the instructions are unclear.
Keep the manual accessible, especially for unfamiliar adjustments. A general product page or equipment overview is not a replacement for the assembly and operating instructions for your particular machine. Follow the documentation supplied for your own model.
Choose a stable, clear location
Put the reformer on a firm, level surface that does not rock or slide during the manufacturer’s specified checks. Avoid placing it where a rail, foot or moving part overhangs an edge. If it wobbles, shifts, or cannot sit evenly, do not try to correct the problem with improvised wedges; reposition it or ask the manufacturer what to do.
Allow space around the entire machine, not just enough floor area for the frame. You need to get on and off safely, reach the adjustments, and keep your body and the straps clear of walls, furniture and other obstacles. Check the space at the ends and both sides, and consider the route the carriage and your limbs may take during the movements you plan to do. There is no single clearance figure that suits every model, exercise or room. Use any spacing instructions from the manufacturer and leave more room if your planned movement needs it.
Remove trip hazards and loose items from the working area. Keep children, pets and other people away while the carriage is moving. If you need to fold or reposition the reformer, use its instructions and do not exercise until it is fully opened, secured and stable.
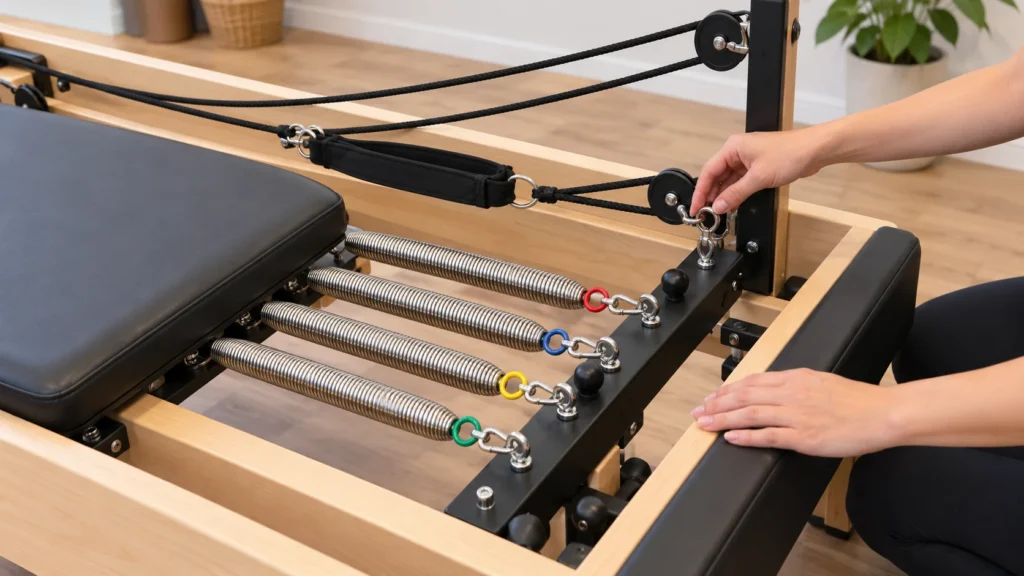
Inspect springs, straps and adjustments
With the reformer unloaded and still, look over the springs or other resistance components, their attachment points, the ropes, straps and pulleys. Check for visible damage, fraying, distortion, loose connections or parts that do not sit as the manual shows. Inspect the handles or foot loops too. A strap can look attached while still being incorrectly secured, so confirm its connection using the model’s instructions.
Do not use a component that appears damaged, detached or unusually worn. Do not try to repair or replace a spring, rope or fitting unless the manufacturer’s instructions authorize the task and explain how to do it. If the instructions do not cover the problem, contact the manufacturer or a qualified service provider. A general reformer guide advises checking for issues such as loose bolts, damaged ropes and worn straps, and stopping use when a safety-related component appears damaged. Apply that general advice alongside—not instead of—the requirements for your model.
Before changing resistance or moving an adjustable footbar, headrest or rope length, learn the control and secure-locking method from the manual. Make adjustments while the machine is unloaded unless its instructions say otherwise. Check that the setting is locked before use. Do not assume that more spring resistance is automatically safer or harder: spring resistance may support a movement in one exercise and challenge it in another, as the same general reformer guide explains.
Test the carriage before getting on
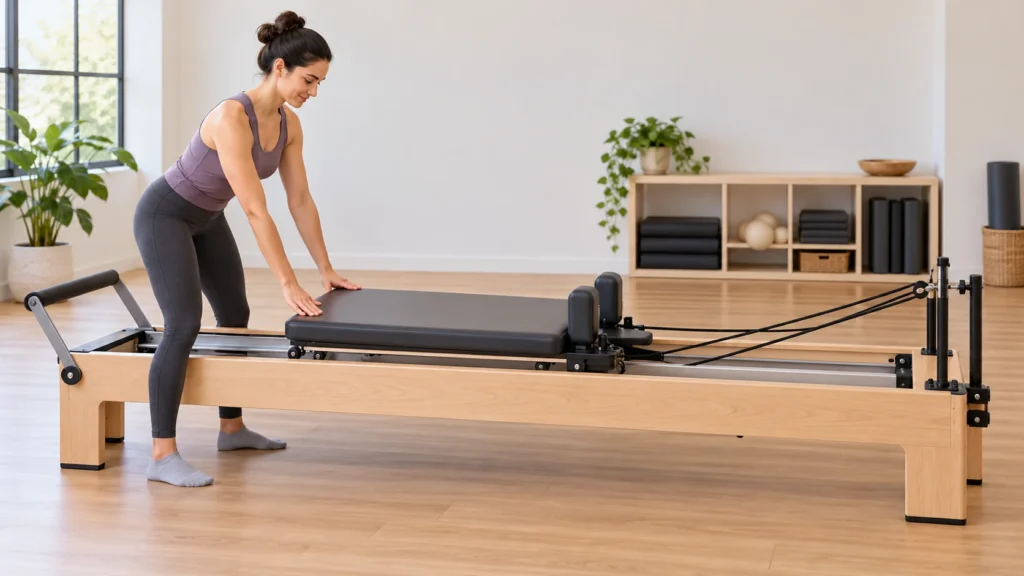
Stand beside the machine and, following the manual, move the unloaded carriage through a short, controlled range. Keep fingers, hair and clothing away from pinch points, springs, pulleys and the gap between the carriage and frame. Observe whether the carriage travels smoothly along the rails and returns in a controlled way. Look or listen for anything unusual, such as sticking, scraping, unexpected movement or a part coming loose. The general reformer guide also identifies smooth carriage travel as a feature to observe; this simple check does not replace the maker’s instructions.
This is a basic function check, not a test of how the machine will perform under exercise load. Do not put your weight on a reformer if the carriage catches, jumps, tilts, makes a new or unexplained noise, or if a resistance connection shifts. Stop and consult the manual or manufacturer rather than repeatedly testing it or trying to force movement.
Once the unloaded check is satisfactory, confirm the machine is set up for the introductory movement you intend to do. Use only the spring setting, footbar position, headrest position and attachments specified for that movement in instructions or qualified instruction. If you are new to reformer use, get help learning the controls before attempting a full workout. A general equipment description cannot determine the correct setting for every exercise or person.
First-use preflight
Before each session, take a moment to verify the essentials. This is a practical visual check, not a substitute for the manufacturer’s maintenance schedule.
- Assembly: The frame and attachments appear complete, and all required locks and fasteners are secure according to the manual.
- Placement: The reformer is stable on the floor, with enough clear space to get on and off and move without hitting nearby objects.
- Resistance and straps: Springs or other resistance parts, attachment points, ropes and straps show no visible damage and are connected as instructed.
- Adjustments: The footbar, headrest and other settings you will use are correctly positioned and locked.
- Movement: The unloaded carriage travels as expected, with no sticking, unexpected shifting or unexplained noise.
If any check fails, do not begin the workout. Keep the machine out of use until you have followed the appropriate instructions and resolved the issue. Never treat a quick inspection as proof that a damaged part is safe.
When this general guide is not enough
Stop and seek model-specific help if the reformer has been damaged, moved or reassembled and now behaves differently; if you cannot tell whether a component is correctly installed; or if the manual’s instructions conflict with what you see. This guide does not provide repair directions, identify a safe spring combination for a particular exercise, or assess whether a movement is appropriate for an individual.
Use the machine only as its manufacturer directs. If you have a medical condition, an injury, or uncertainty about beginning exercise, ask an appropriately qualified professional for individual guidance. A stable setup can reduce avoidable equipment and space hazards, but it cannot guarantee that an exercise is suitable or prevent every injury.