





How to Clean and Store an Electric Sprayer Without Clogs
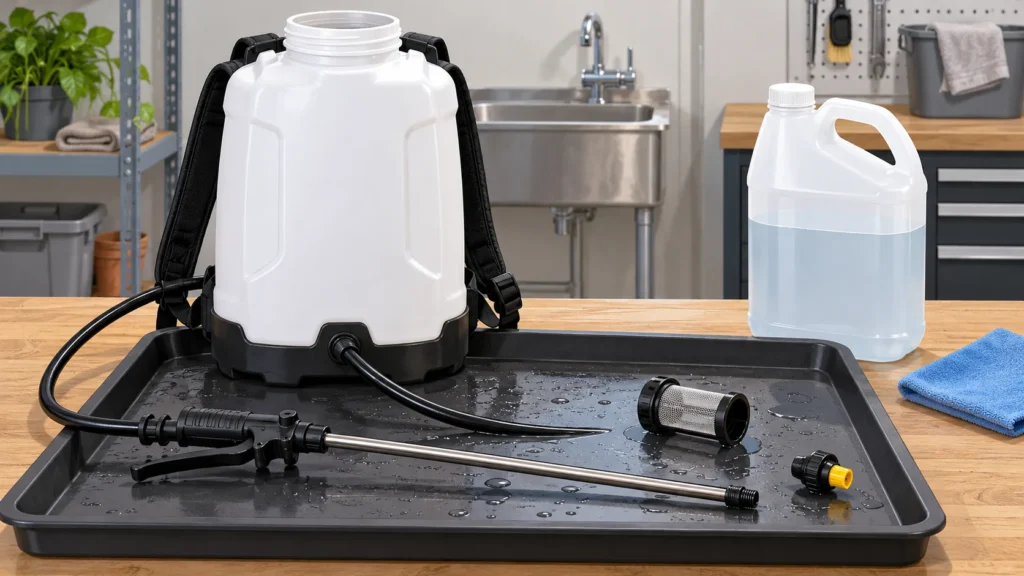
An electric sprayer is easiest to maintain immediately after use. Paint, stain, fertilizer, pesticide, and other treatments can dry in the nozzle, hose, filter, or gun, restricting flow the next time you switch it on. The correct routine is not simply “run some water through it”: you need to identify the liquid, follow the sprayer’s manual, flush the fluid path, clean removable parts, and store the tool dry.
Start with the instructions for your exact model. Electric handheld garden sprayers, HVLP paint sprayers, and electric airless machines do not necessarily share the same cleaning solvent, disassembly steps, or storage requirements. For example, Graco publishes separate operation and parts manuals for its 390 electric airless sprayers and guns, rather than one universal procedure in its official 390 manual library. If the manual conflicts with general advice below, use the manual.
For additional product-selection context, see TheTopZone’s related Top Picks for electric sprayers. The comparison may help you assess tank style, nozzle options, and intended use, but maintenance compatibility still depends on the individual model and the liquid used.
Before cleaning, identify the liquid and the tool
Read the product label and sprayer manual before choosing a rinse. Water-based paint or garden treatment may call for water; an oil-based coating may require a manufacturer-approved solvent. Do not guess that water is suitable for every material, and do not substitute a solvent merely because it seems stronger. The rinse liquid, disposal method, and protective equipment should match the coating or treatment label.
Disconnect the battery or unplug the sprayer before removing a nozzle, filter, hose, or other part. If the tool is a pressurized paint sprayer, relieve pressure exactly as its manual describes before opening the fluid path. Never point the gun or wand at yourself or another person while checking flow.
Work where spills can be contained. Keep rinse water, paint residue, and garden chemicals away from drains, soil, ponds, and food-preparation areas unless the applicable label and local rules allow disposal there. Wear the protective equipment specified by the chemical or coating label. Cleaning is part of chemical handling, not an opportunity to dilute or discard a product casually.
Flush the fluid path immediately
Empty unused liquid back into its original, correctly labelled container when the label permits it. Do not return contaminated rinse liquid to that container. Wipe the tank or cup with a disposable material, then add the approved rinse liquid.
- Remove loose residue.Wipe the tank opening, lid, pickup tube, and exterior before residue can harden. Keep debris from falling back into the tank.
- Prime according to the manual.Reconnect only what the instructions require, place the intake in the approved rinse, and use the specified spray or recirculation setting.
- Flush until the output changes.Spray into a suitable waste container, not onto the ground or a drain. Continue only as long as the discharged liquid is visibly carrying residue; do not run the pump dry unless the manual expressly permits it.
- Repeat with clean rinse.A second clean rinse can remove residue left by the first pass. Stop when the outlet is clear for the task and the manual’s cleaning requirement has been met.
A garden sprayer with an intake filter may need that filter cleaned separately. A paint sprayer may have additional passages in the gun, manifold, or tip. The supplied handheld-sprayer reference recommends flushing clean water through the nozzle and rinsing the tank and nozzle separately where possible, but it also says to follow the manufacturer’s instructions in its handheld-sprayer guidance. Treat that as general guidance, not a substitute for the exact manual.
Clean the nozzle, filter, and seals
Once the fluid path has been flushed, switch off and isolate the sprayer again. Remove only the parts the manual identifies as user-serviceable. Put small parts in a clean tray so a nozzle, screen, gasket, or retaining ring is not lost.
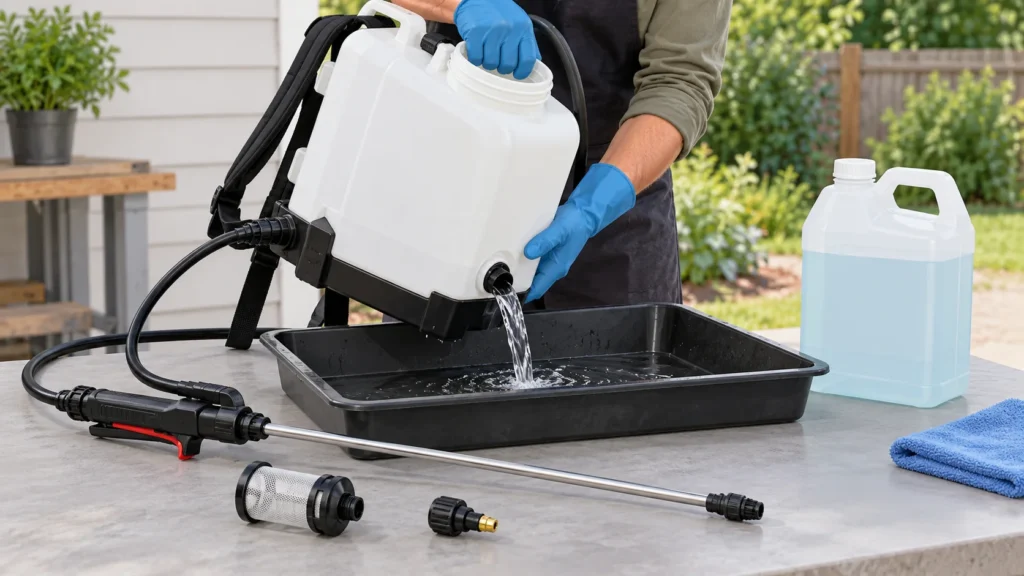
- Nozzle or tip: Use the approved rinse and a soft brush or the manufacturer’s specified tool. Do not force a needle, wire, or drill through a precision opening unless the manual explicitly calls for it; enlarging the opening can change the spray pattern.
- Intake screen or filter: Rinse away settled particles and inspect it against the light. A damaged or permanently blocked screen should be replaced with the exact part recommended for the model.
- Gaskets and seals: Wipe them clean and inspect for cuts, flattening, swelling, or residue. Do not apply oil, grease, or solvent unless the manual specifies the product and location.
- Tank, cup, and hose: Clean accessible surfaces and rinse until no coating or treatment remains. Do not immerse electrical controls, battery compartments, or motor housings.
Do not assume that a “chemical-resistant” seal works with every liquid. The supplied reference says some handheld sprayers are intended for particular liquid types and advises checking the instructions before using harsh chemicals in its buyer guidance. That limitation matters especially when changing from garden treatment to paint, stain, or household cleaner.
Dry before storage
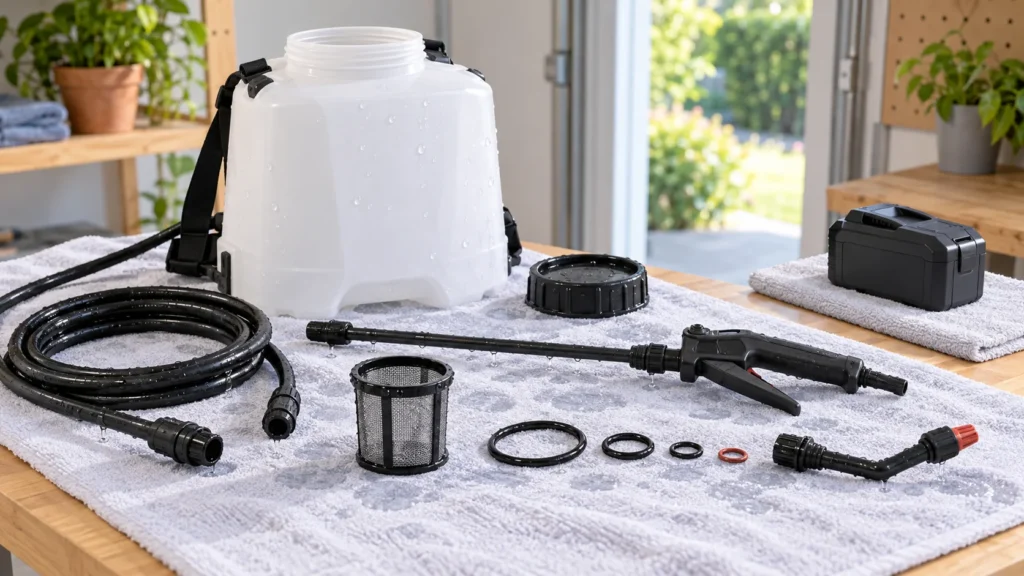
After the final rinse, drain the tank, hose, wand, and nozzle as far as the design allows. Hold removable parts so trapped liquid can run out, then place them on a clean, dry surface. Leave the tank opening and removable cap open while parts dry. A short air-drying period is preferable to sealing moisture inside the sprayer.
Do not use compressed air to force liquid through passages unless the manufacturer approves it. Excess pressure can move debris deeper into a passage or damage seals. Do not store the tool with an unknown mixture, leftover paint, or garden treatment in the tank. If the manual requires a storage fluid, use only that specified fluid and label the tool accordingly.
Store the sprayer safely
Reassemble only after the parts are clean and dry, unless the manual says a component should remain removed. Fit the nozzle guard or cap if supplied, but do not trap a wet cloth or damp debris against the outlet. Keep the sprayer upright or in the orientation specified by the manufacturer, away from freezing temperatures, direct heat, and children or animals.
Store batteries separately when the manual calls for it. Keep contacts dry and inspect the charger and cable before the next use. Avoid hanging a tank or hose from a connection that was not designed to carry that load; strain can create leaks even when the sprayer looked sound during cleaning.
Inspect before using it again
Before adding a new liquid, check the tank, lid, hose, wand, nozzle, filter, seals, trigger, and battery compartment for cracks, brittleness, blockage, or leaks. Confirm that the replacement tip or nozzle is the correct part for the model. Fill with the intended liquid only after the tool passes that inspection.
Test briefly in a controlled area using the least hazardous practical material, following the manual’s startup procedure. An uneven fan, weak output, drips, or a pump that runs without moving liquid is a reason to stop and clean or inspect again—not a reason to increase pressure blindly.
Illustrative example: changing liquid types
Situation: You have used a battery sprayer for a water-based garden treatment and want to use it later for plain water. Assumptions: the exact manual permits both liquids, specifies water as the rinse, and does not require a storage fluid. Decision: empty the treatment as directed by its label, rinse the tank, flush the intake and nozzle with clean water, remove and rinse the filter if the manual permits, drain the passages, and store the dry sprayer open as instructed. This example does not apply to solvent-based paint, a restricted pesticide, or a model whose manual requires a different cleaner.
The goal is not merely a clean-looking tank. It is a clear, dry, model-compatible fluid path with intact seals and a storage method that does not preserve residue. Cleaning after every session takes less effort than diagnosing a blocked nozzle after material has hardened, while the exact liquid label and model manual remain the final authority.