





How to Set Up a Robot Window Cleaner Safely
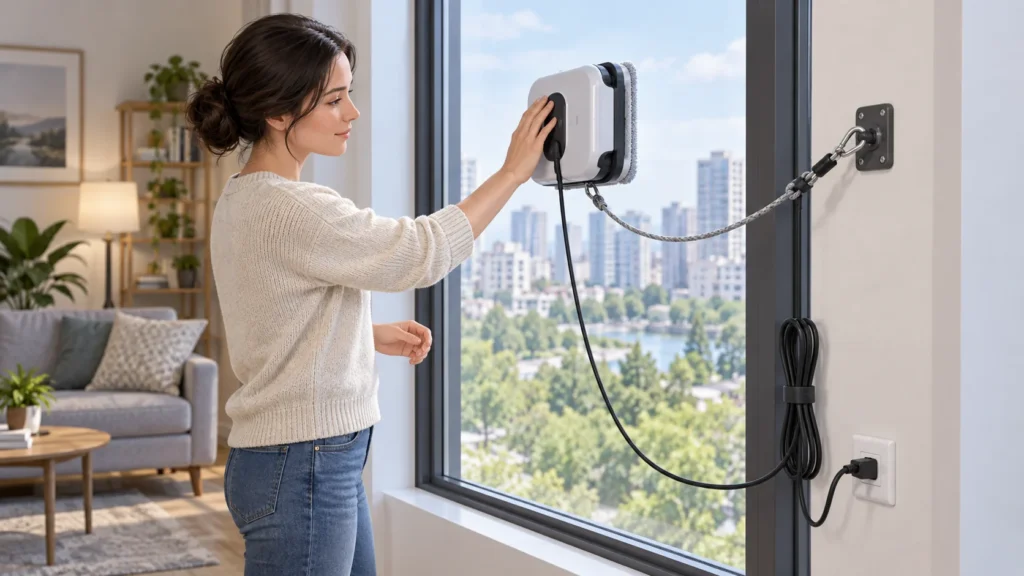
A robot window cleaner is only as safe as its setup. Before it moves across vertical glass, confirm that the surface is suitable, the cleaning pad is fitted correctly, the tether is anchored and the power arrangement matches the instructions for your exact model. The safest routine is deliberate: prepare the glass, connect every safety component, start on an accessible pane and remain nearby while the robot works.
Use this guide alongside the product’s supplied manual. Robot designs differ: some use continuous suction, some include a separate power station, and controls, alarms and removal procedures vary. The ECOVACS explanation of window-cleaner setup and operation illustrates one manufacturer’s approach, but its instructions and figures should not be treated as universal.
Check the window and the model first
Start with the manufacturer’s compatibility information for the exact model, not a general claim about the brand. Confirm that the robot is intended for your glass type, pane dimensions, frame or frameless edge and surface condition. The supplied reference material cautions against cracked, heavily textured or unsuitable glass; the window-robot safety guide also identifies wet-edged surfaces and poor seal conditions as reasons to stop.
Inspect the pane for cracks, loose films, raised stickers, heavy condensation, grease or debris that could interrupt contact. Check the perimeter, too: a dirty edge can interfere with movement or edge detection. Remove handles, decorations or loose blinds that could obstruct the robot or catch its cable. Keep people and pets away from the area below an exterior pane while the machine is operating.
If the window is above ground level, treat the tether and any backup-power system as essential rather than optional. A suction-based robot depends on powered adhesion, so a power interruption can become a drop hazard. Verify in the manual how the backup battery is charged and how its status is indicated. Do not assume that a battery, alarm or edge sensor exists—or works in the same way—on every model.
Prepare the glass and cleaning pad
Clean away loose grit before attaching the robot. A dry, soft cloth around the perimeter can remove dust that might otherwise sit beneath the seal or pad. Do not use a robot on a pane that is wet in a way the manual excludes. Let unsuitable moisture, condensation or an incompatible cleaning product be a reason to postpone the job.
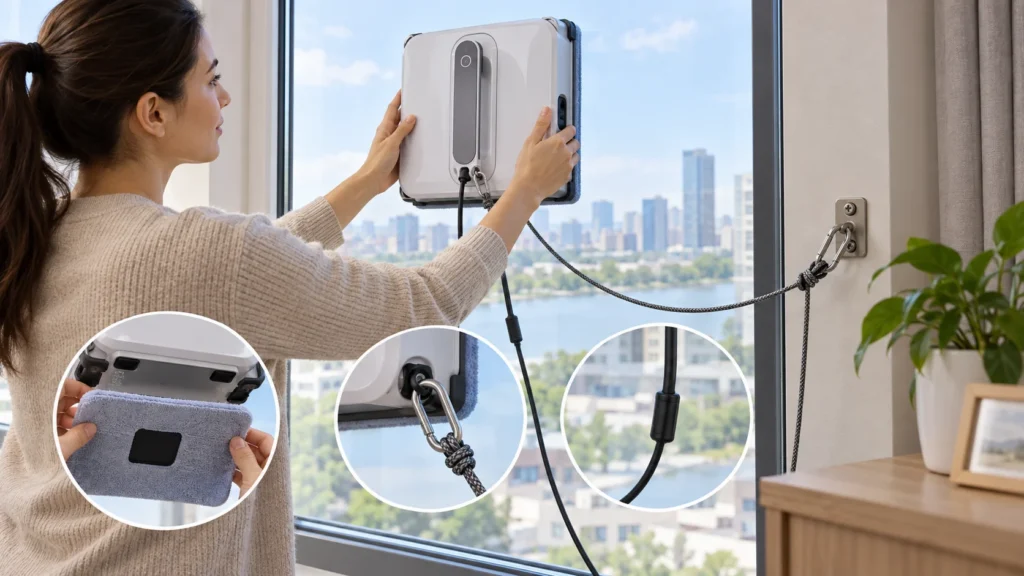
Fit the correct pad or cloth for the model. It should be clean, intact, centred and secured to every fastening point. Make sure it does not cover a sensor, air inlet, wheel or track unless the manual specifically shows that arrangement. A poorly fitted pad can reduce contact, leave missed areas or drag against the frame.
Use only the cleaning solution and amount permitted by the manufacturer. Some robots spray from a tank; others require a dampened pad or a small application to the cloth. Avoid improvising with foaming detergent. The manufacturer’s ECOVACS setup example shows a model-specific process involving a tank and a wrung-out pad, which demonstrates why the supplied instructions matter more than a generic spray rule.
Attach the tether before powering up
Connect the tether to the robot’s designated attachment point, then secure its other end to a fixed, genuinely strong anchor on the room side. Suitable anchors depend on the home and the manufacturer’s directions; a lightweight curtain rod, temporary suction cup or loose furniture is not a reliable substitute. The tether should be able to catch the robot without being routed across a sharp edge or placed where someone can trip.
Check that the clip, knot or connector is fully engaged. Inspect the tether for fraying, cuts, severe wear or sun damage before every use. Do not lengthen it with an improvised cord, and do not hold it in your hand as a replacement for an anchor. A tether is a last line of defence, not a licence to operate a robot on incompatible glass.
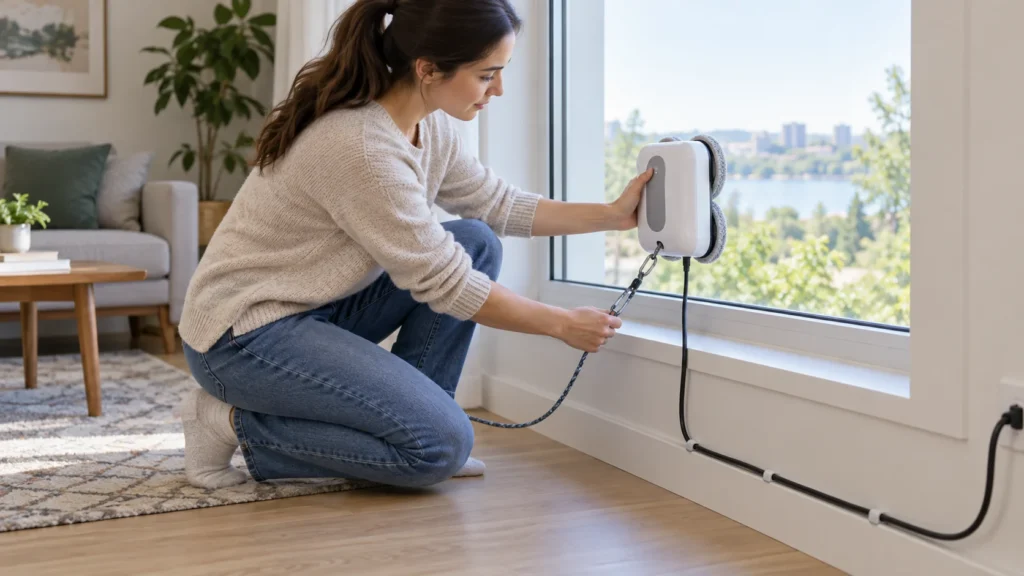
Arrange the power cable so it reaches the whole intended route without pulling sideways on the robot. Keep slack controlled: too little can tug at the machine, while loose loops can catch on handles, furniture or feet. Place any power station where it cannot slide, fall or create a trip hazard. If your model uses a station or portable battery, follow the manual’s positioning and charging instructions.
Connect power and confirm ready status
Inspect the plug, cable and connectors for damage. Connect them exactly as shown in the manual, then charge the robot or its backup system for the required time. Do not begin an upper-floor run merely because the robot powers on; confirm the stated ready or full-charge indication and understand what the warning sounds or lights mean.
Before placing the unit on glass, check that the pad is still secure, the tether is attached, the cable is clear and the controls are available. Keep the manual nearby for the model’s stop, pause and return commands. If the robot reports a seal, battery, sensor or attachment error, remove it only according to the manufacturer’s recovery instructions.
Make the first run a supervised test
Choose an accessible, compatible pane for the first attempt. Place the robot flat against the glass as directed, supporting it until the device confirms attachment. Start the cleaning cycle while keeping one hand ready to steady or retrieve it as the manual advises. Do not walk away, even if the robot appears to be moving normally.
Watch the first route closely. Look for cable tension, pad movement, slipping, unusual noise, repeated turning, contact with a frame or an alarm. A changing suction sound or status warning should be treated as a stop-and-check signal, not something to ignore. Pause or stop the robot using its prescribed control, and keep it supported until you can remove it safely.
Frameless glass requires particular care. It needs a model whose official instructions expressly support that edge condition and whose edge-detection system is suitable for the pane. Do not infer compatibility from a general “anti-drop” marketing phrase. If the manual does not clearly cover the glass, do not run the robot there.
Remove the robot with power still on
When the cycle ends, remain with the robot until it reaches a safe, reachable position or follow the manual’s retrieval procedure. Keep the tether managed and take a firm hold of the robot using its handle or approved gripping area. Do not pull the power cord to bring it down.
Support the robot before switching it off. The safest order depends on the design, but the general principle is consistent: keep the robot supported while adhesion is active, use the prescribed stop or power control, then release the seal as instructed. Never switch off a robot that is still out of reach and assume the tether will make removal safe.
Clean up and store the equipment
After removal, detach and inspect the pad. Wash or replace it according to the care instructions; do not use fabric softener or high heat unless the manufacturer explicitly permits it. Wipe the contact area, sensors, wheels or tracks and cable with the approved method. The ToolingIdeas maintenance overview recommends keeping pads and sensors free of debris, but the exact cleaning agents and replacement intervals must come from your model’s manual.
Let washable parts dry as directed before storage. Coil the cable without tight kinks, keep the tether dry and inspect it again before the next session. Store the robot, pads, charger and remote where they will not be crushed or contaminated.
Illustrative example: deciding whether to use a frameless pane
Situation: You have one smooth, frameless interior pane and a robot whose product page mentions edge detection, but the supplied manual does not list frameless glass.
Decision: Do not proceed on that pane. The input is “frameless glass”; the available evidence is a general feature statement without exact compatibility. The required output is “manual confirmation needed,” not a test run. Choose a listed framed pane instead, or obtain written model-specific guidance from the manufacturer. This example does not apply when the manual clearly approves the exact pane type and gives a safe operating procedure.
When to stop
Stop before attachment if the glass is cracked, wet in an excluded way, heavily textured, greasy or obstructed. Stop during operation for any alarm, loss of contact, cable snag, slipping, unexpected path or damaged tether. Do not improvise a repair at height. Bring the robot to a safe position using the manufacturer’s procedure, disconnect it only when supported and contact the manufacturer if the fault persists.
For more model-specific buying considerations—such as edge handling, backup power and window compatibility—see TheTopZone’s related Top Picks. A suitable robot is not simply the one with the most features; it is the one whose documented setup and safety systems match your actual windows.