





How to Set Up Resistance Bands Safely at Home
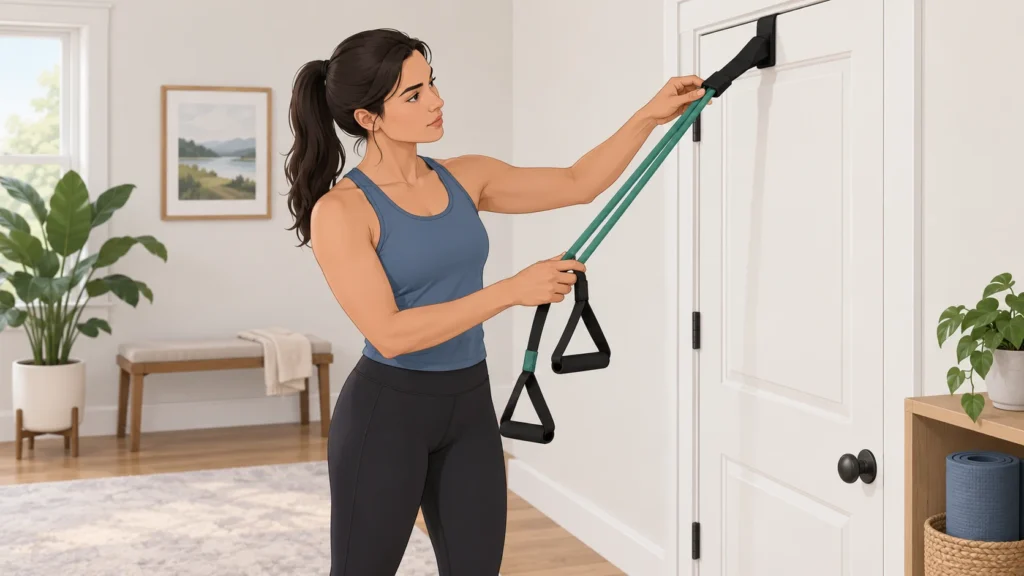
Resistance bands are easy to store, but a safe workout setup still deserves a deliberate sequence. A tube band with handles, a door anchor, an ankle strap, or a loop band can change where force travels and how much space you need. Before choosing an exercise, check the band, understand the attachment, secure the anchor, and rehearse the movement with light tension.
This guide focuses on setup rather than programming. It does not replace the instructions supplied with your specific equipment. Accessory designs and allowable uses differ, so follow the manufacturer’s directions whenever they conflict with general guidance. For broader equipment comparisons, see TheTopZone’s resistance-band Top Picks.
Start with a clear, safe space
Choose an area where the band can travel without contacting furniture, sharp corners, lamps, pets, or other people. Walk through the full path of the planned movement before attaching anything. Include room behind you if the exercise requires stepping away from an anchor, and allow space to turn or lower the band without it catching on an object.
Look at the floor as well as the walls and door. A stable, non-slippery surface helps you maintain your stance, while loose rugs, cables, and clutter can interfere with foot placement. Wear footwear that gives you a secure base, particularly for exercises where the band is under your feet.
Clearance is not just about the person exercising. The band itself must have room to extend and return without rubbing against rough surfaces. The FitBeast setup guide recommends selecting an obstacle-free area and checking the anchor before beginning; its instructions are available from the manufacturer’s guide.
Inspect the band and attachments
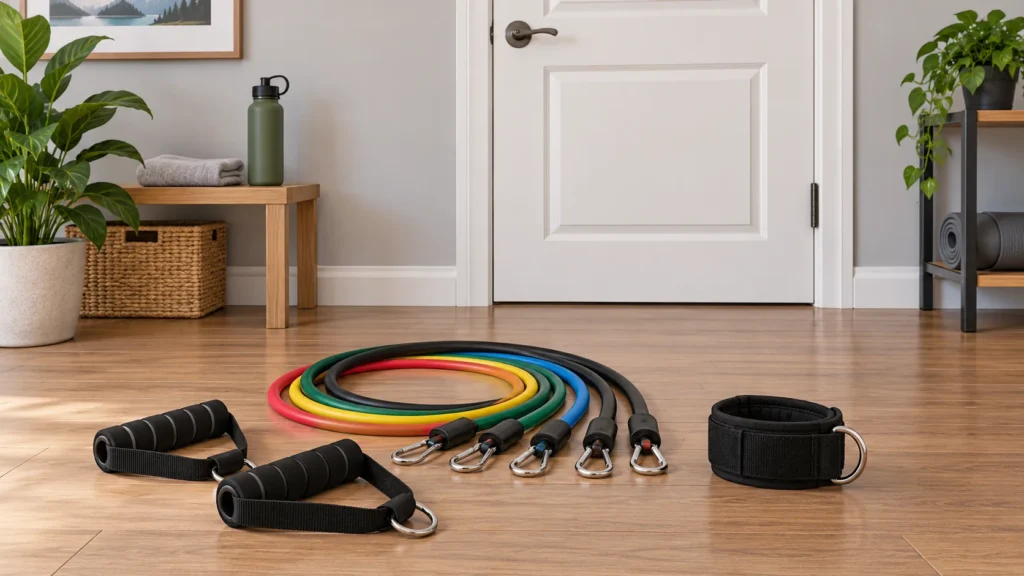
Inspect every part before each session: the elastic tube or loop, handles, clips, carabiner-style connectors, door anchor, ankle strap, and any stitching. Look for cuts, cracks, flattened sections, fraying, unusual stretching, loose stitching, or damaged plastic and metal. Run your fingers along the band only when it is completely unloaded; do not test a questionable band by pulling it hard.
Pay special attention to places that will bear against an edge or connector. A band can appear intact in the middle while showing wear near a handle or anchor. If a component is damaged, stop and replace it rather than improvising a repair. HomeProGym’s safety guidance likewise says to inspect bands before use, confirm anchors are secure, and avoid stretching bands beyond their intended resistance; read the original guidance at HomeProGym.
Keep the band away from sharp or abrasive surfaces, excessive heat, and direct sunlight during storage. These precautions are maintenance advice, not a guarantee that a band will remain safe indefinitely.
Attach tube-band handles and straps
For a tube band with removable handles, identify the connector on each end and the matching attachment point on the handle. Pass or clip the connector through the handle as directed by the manufacturer, then check that it is fully seated. If the connection uses a gate or clasp, verify that it has closed rather than assuming it has.
Attach both sides symmetrically when the exercise calls for two handles. Before applying meaningful force, hold the handles and gently tension the band while watching each connection. The band should pull in a straight line, and neither connector should twist, slide, or press against an edge.
An ankle strap should sit securely around the ankle or lower leg without being so loose that it can rotate unexpectedly. Fasten the closure as instructed, keep the connector facing the intended direction, and check that the strap does not pinch or restrict comfortable movement. Do not attach an ankle strap to a point that could snag clothing or cause the band to cross the knee unless the equipment instructions specifically permit that setup.
Position a door anchor carefully
A door anchor is designed to hold a band at a particular part of a closed door. Read the supplied instructions first: some anchors are positioned over the top, beside the hinge side, or at the bottom, and the correct location depends on the anchor’s construction. Do not assume every anchor supports every position.
Use a solid, properly fitted door that can close completely around the anchor. Check which side the door should close toward according to the instructions, then close it fully and confirm that the latch is engaged. Keep the anchor away from the hinge mechanism and do not place it where the door can open into the band.
After closing the door, pull the band gently in the direction of the planned exercise. Watch the anchor rather than merely feeling resistance. It should remain seated, with no visible slipping, pinching, or movement of the door. If the door shifts, the anchor moves, or the band rubs against the door edge, stop and change the setup.
Never substitute an unstable chair, light table, or movable furniture for a rated anchor. A sturdy-looking object may tip or slide once the band is loaded. The setup guidance from How Engineering Works also emphasizes a stable anchor, a fully closed door, and a pre-use inspection.
Choose anchor height and check alignment
Choose the anchor height according to the direction of resistance required by the movement. A high position generally sends the band downward; a middle position may align with the torso or chest; and a low position sends resistance upward. These descriptions are setup concepts, not a prescription for a particular exercise.
Stand where you expect to start and look from the side and front. The band should point toward the anchor without crossing your face, neck, or an unintended joint. Keep both sides at comparable heights when using two bands or a two-ended attachment. If one side is higher, the resistance may pull you into rotation or cause one connector to carry more load.
Begin with slack removed but not with a sudden, maximal pull. Take one slow rehearsal repetition. Check that the band remains in its intended path, does not scrape the floor or door, and does not move toward your eyes or head. If the line of pull changes sharply during the movement, reposition yourself or select a different anchor height.
Set up loop bands without an anchor
Loop bands are commonly placed around the legs or held between the hands, but the exact position should match the exercise and the band’s instructions. When placing a loop around the thighs or lower legs, keep it flat rather than twisted. A twisted band can create an uneven pull and may roll or pinch as you move.
For a band under the feet, place both feet deliberately and confirm that the band is centered. Keep the tubing or fabric away from sharp shoe edges. Hold the free section securely, and test the stance with a small amount of tension before beginning the full movement.
Do not place a band across the front of the neck, over the head, or anywhere that could make a sudden release hazardous. If a movement requires the band to pass near the face, choose another setup or exercise.
Use a practical preflight check
- Space: Can you complete the movement without hitting furniture, walls, doors, or another person?
- Condition: Are the band, handles, clips, stitching, anchor, and strap free from visible damage?
- Attachment: Is each connector fully seated and closed as instructed?
- Anchor: Is the door fully closed and latched, or is the fixed anchor genuinely stable?
- Alignment: Does the band travel in a straight, predictable line without rubbing or twisting?
- Clearance: Is there room for the band to extend, recoil, and move through the entire range?
- Rehearsal: Have you tested the setup gently before applying normal effort?
If any answer is no, do not start the set. Correct the setup first. Controlled movement matters too: avoid jerking the band or allowing it to snap back. The Body Motion Lab guide identifies damaged bands, poor anchor points, and uncontrolled returns as common setup concerns; its discussion is available here.
Hypothetical worked example: a standing row
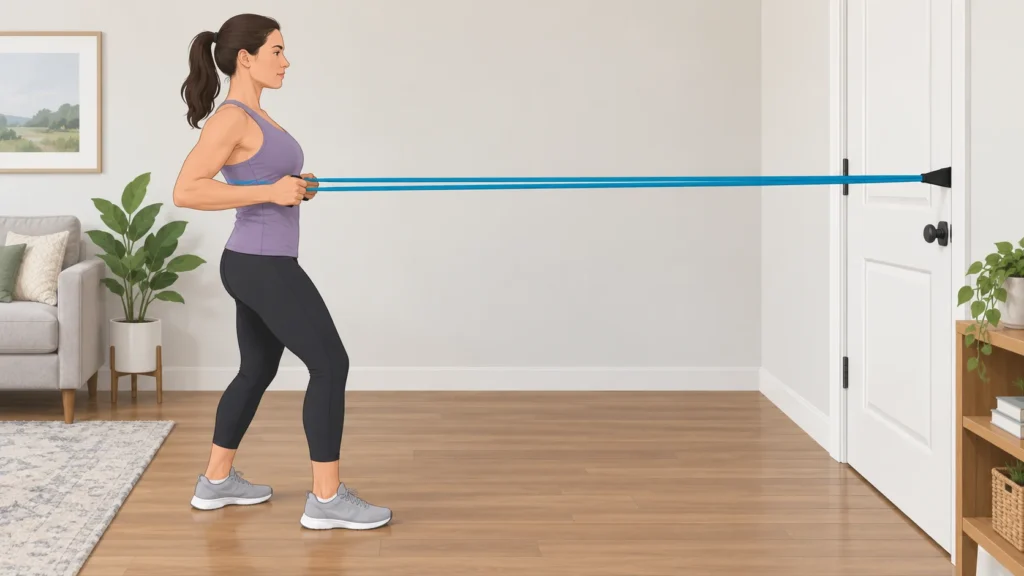
This example is hypothetical and is included to show the decision process, not to prescribe a workout. Imagine a user has a tube band, two handles, and a door anchor. They want resistance directed roughly toward the torso for a standing row.
- They clear a space behind the door and in front of their standing position.
- They inspect the tubing, handles, connectors, and anchor, finding no visible damage.
- They place the door anchor at the height specified by its instructions, close and latch the door, and gently pull-test it.
- They attach both handles and stand far enough away to remove slack while keeping both sides aligned.
- They perform one slow rehearsal, watching for rubbing, twisting, slipping, or an uneven pull.
- If the band crosses the body awkwardly or the door moves, they stop and revise the anchor height or position before exercising.
The important lesson is the sequence: inspect, attach, secure, align, rehearse, then train. A different exercise or accessory may require a different anchor location, so repeat the checks rather than copying the example blindly.
Final checklist and storage
- Follow the specific manufacturer instructions for the band and every accessory.
- Replace visibly damaged elastic, connectors, straps, or anchors.
- Keep bands away from sharp edges, rough surfaces, heat, and prolonged direct sunlight.
- Store accessories so they are not crushed, kinked, or tangled.
- Recheck the setup if you change exercises, anchor height, band length, or stance.
- Stop if the band, door anchor, or attachment behaves unexpectedly.
A safe resistance-band station is not defined by having the most accessories. It is defined by a stable attachment, a predictable line of pull, suitable clearance, and a brief inspection before every session. Take that minute before training, and you will be less likely to discover a setup problem only after the band is under load.